Help
Everything here is written for the person doing the work, not for a computer person. If something is still unclear, tell us via Support & Feedback and a human will answer.
Turn on hover help
The fastest way to learn Quag is inside Quag. Click the round ? button in the top bar and small question-mark markers appear next to the important buttons and numbers across the app. Hover (or tap) any marker for a plain-language explanation of what that thing does. Click the ? button again to turn the markers off — Quag remembers your choice.
How do I add a job?
Go to Pipeline and click Add gig (a “gig” is any job — a delivery block, an event shift, a repaint, a freelance project). Only the name is required; everything else is optional:
- Expected $ and a scheduled date — so the job shows up on your calendar and in your money numbers.
- Start/end time + hourly rate — Quag multiplies them and fills in Expected $ for you.
- Location — you get an “Open in Maps” link on the job.
- Contact / Company — link the job to who it’s for. You can create a new contact or company right from the form.
How do I track a job from lead to paid?
Every job moves through five stages: Lead → Applied → Confirmed → Done → Paid. The Pipeline shows them as columns (Board view) or as a table (List view) — the toggle is at the top right, and Quag remembers which you prefer.
- Board view: drag a card into the next column, or use the Move to… button on the card.
- List view: each row has a button that moves the job to its next stage, plus a ⋮ menu for everything else (open, edit, move, delete).
- When money actually arrives, move the job to Paid and enter the Received $ — that’s what your tax estimate is built from.
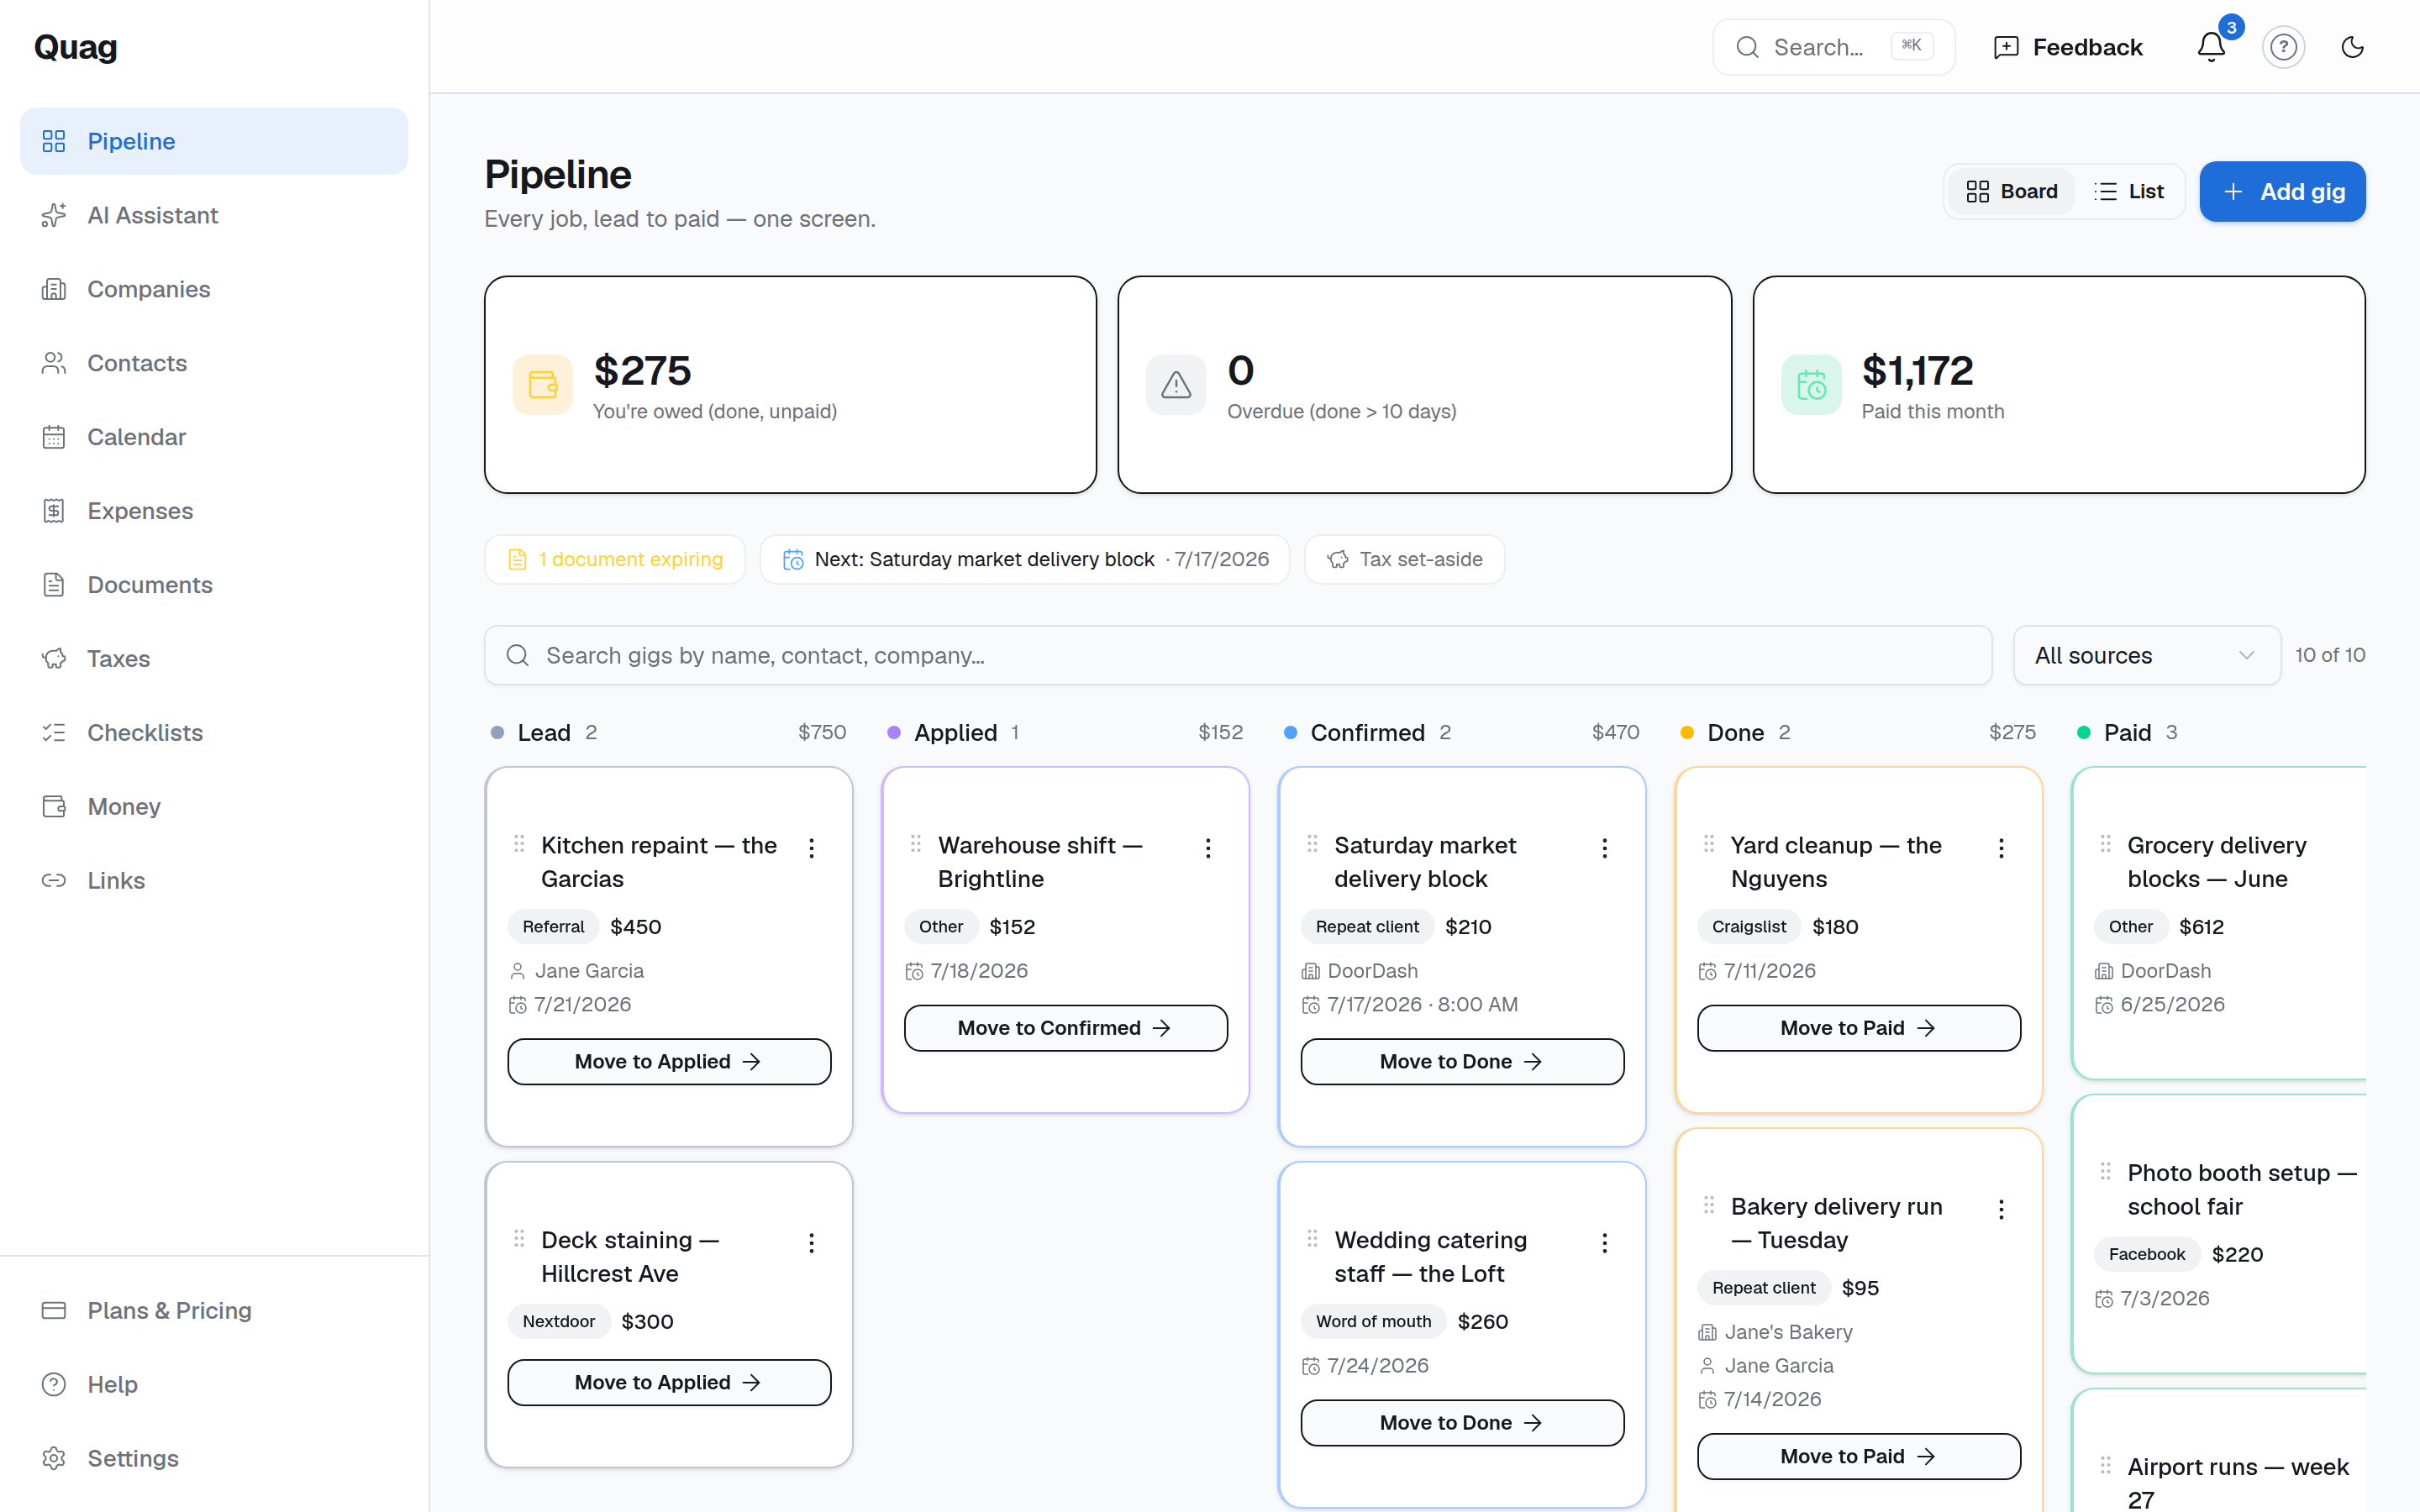
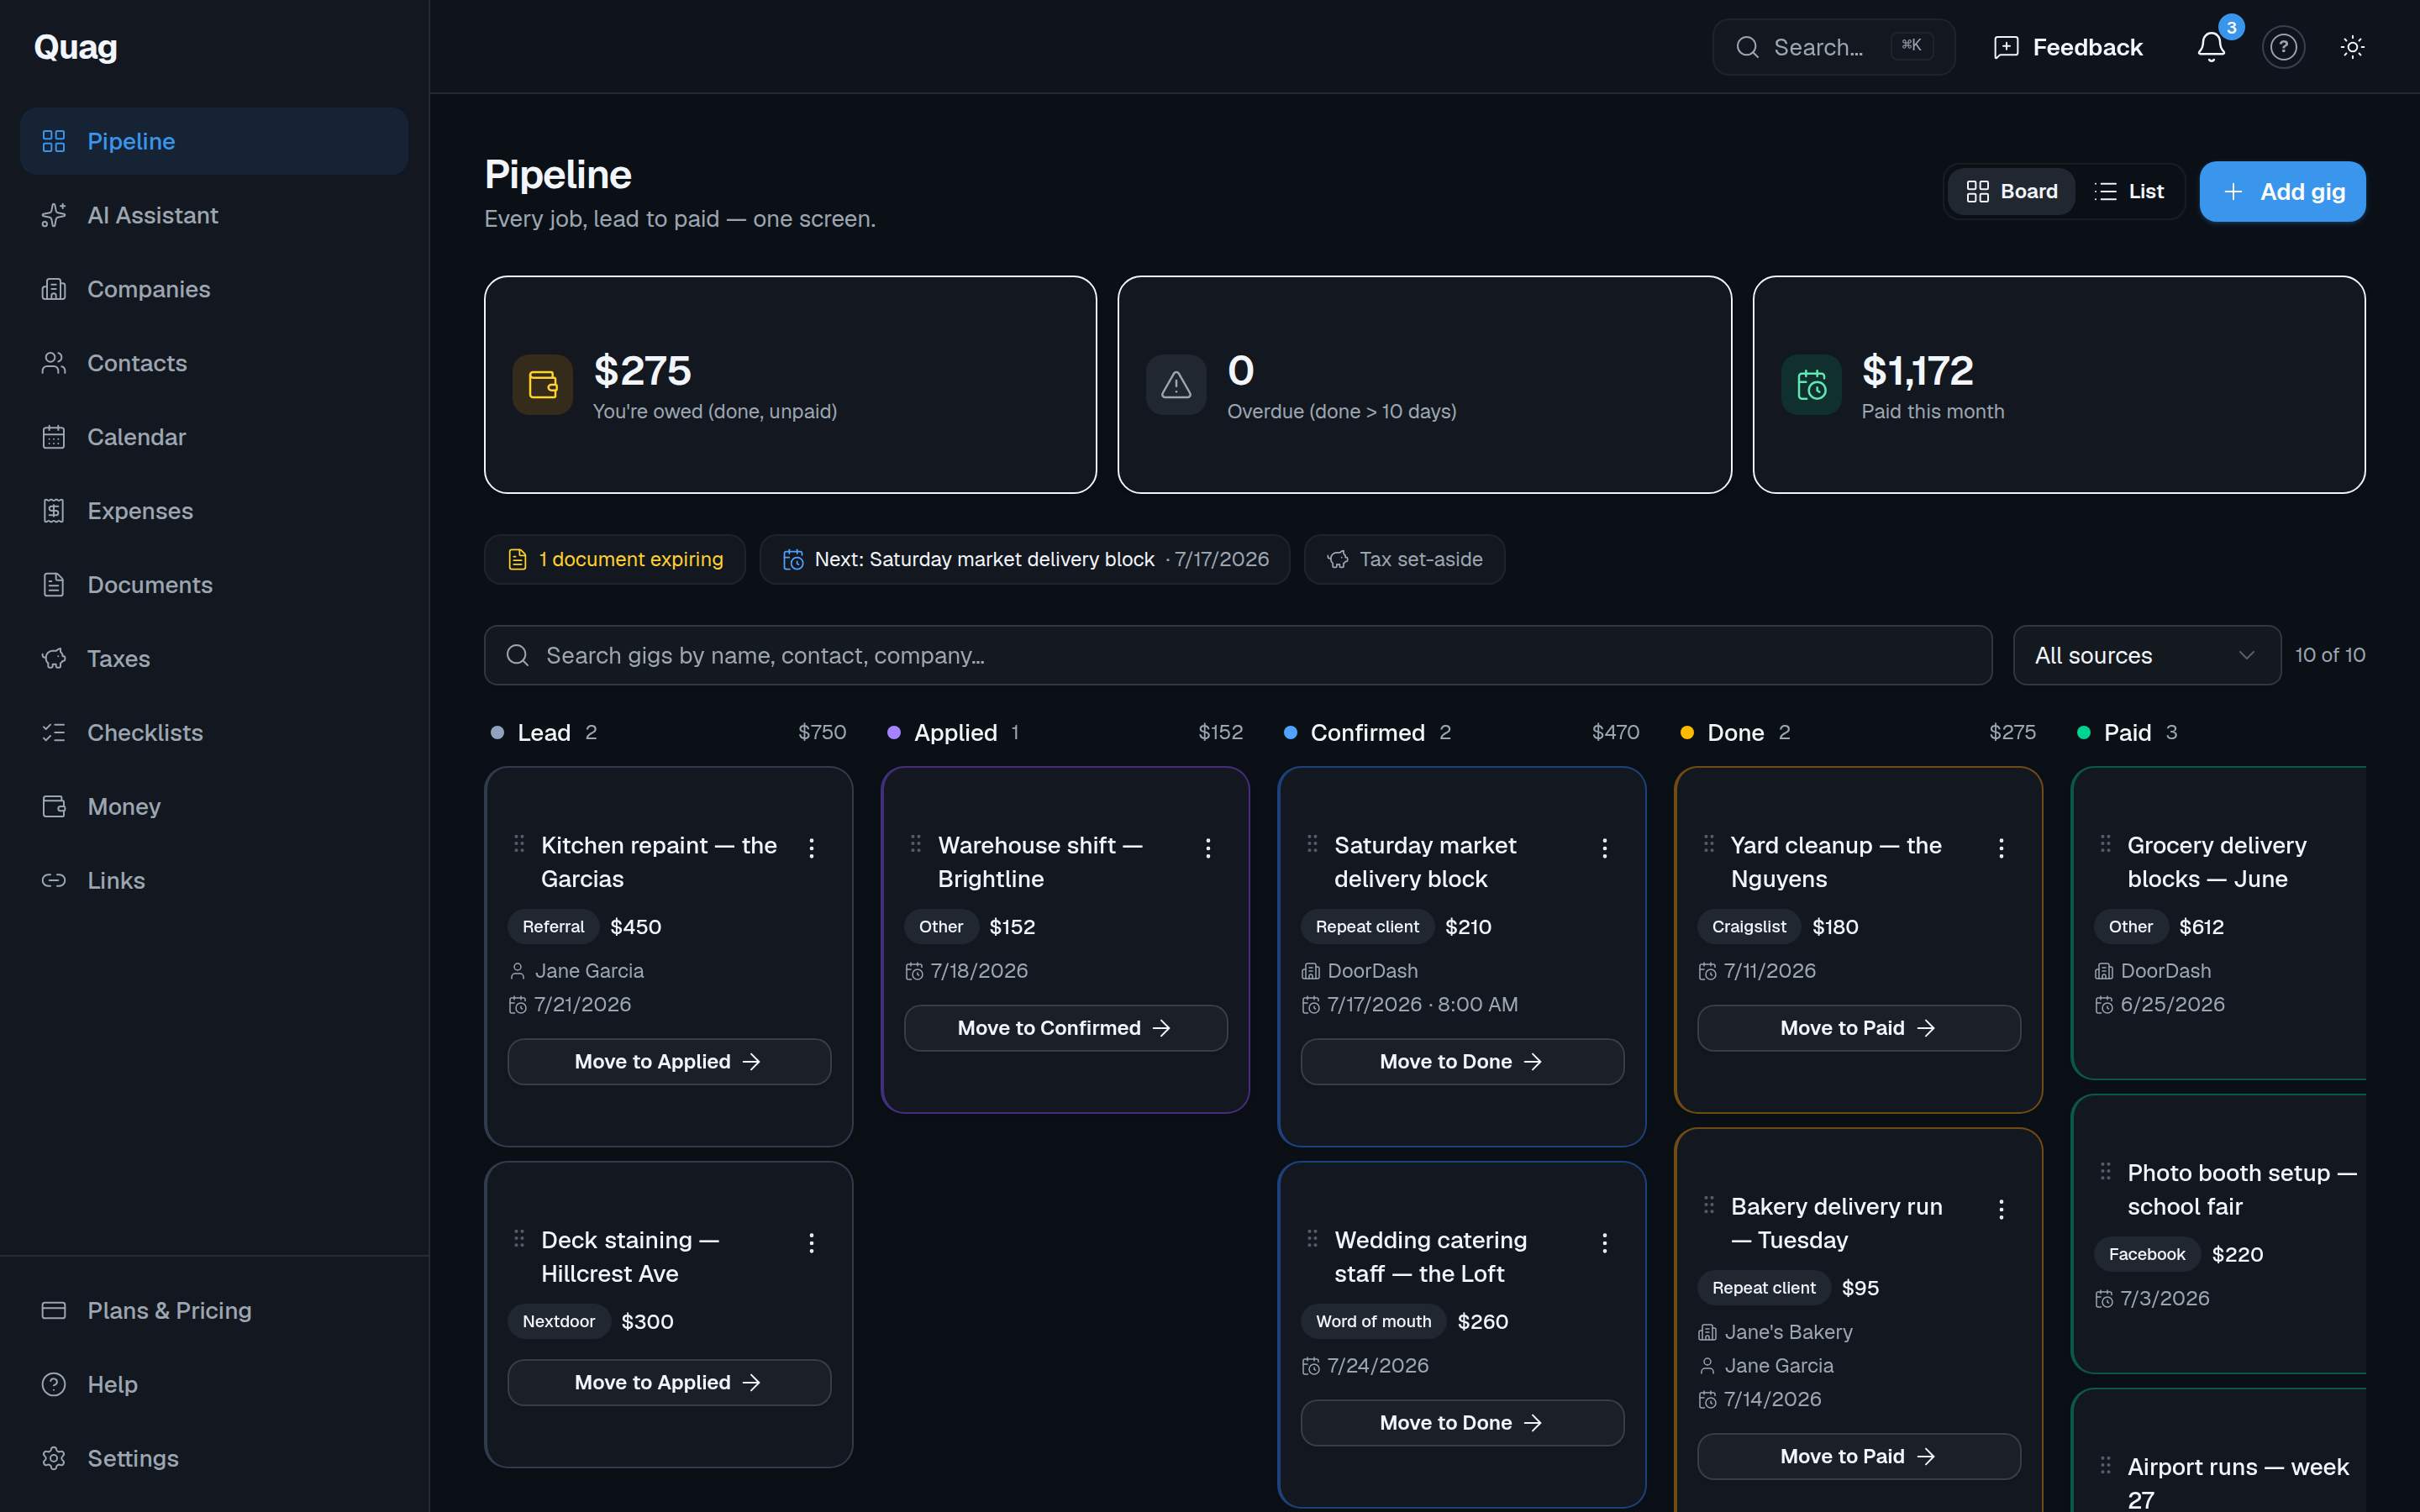
If a job’s scheduled date passes and it isn’t Done yet, Quag shows a gentle prompt: mark it done or reschedule? (You can also set a job to mark itself done automatically — the switch is in the job form.)
How do I see what I'm owed?
The three tiles at the top of the Pipeline answer the three money questions at a glance:
- You’re owed — work you finished (Done) that nobody has paid for yet.
- Overdue — jobs that have been sitting in Done for more than 10 days. Those clients need a nudge.
- Paid this month — what actually landed this calendar month.
Click any tile to jump to those exact jobs.
How do I log expenses and mileage?
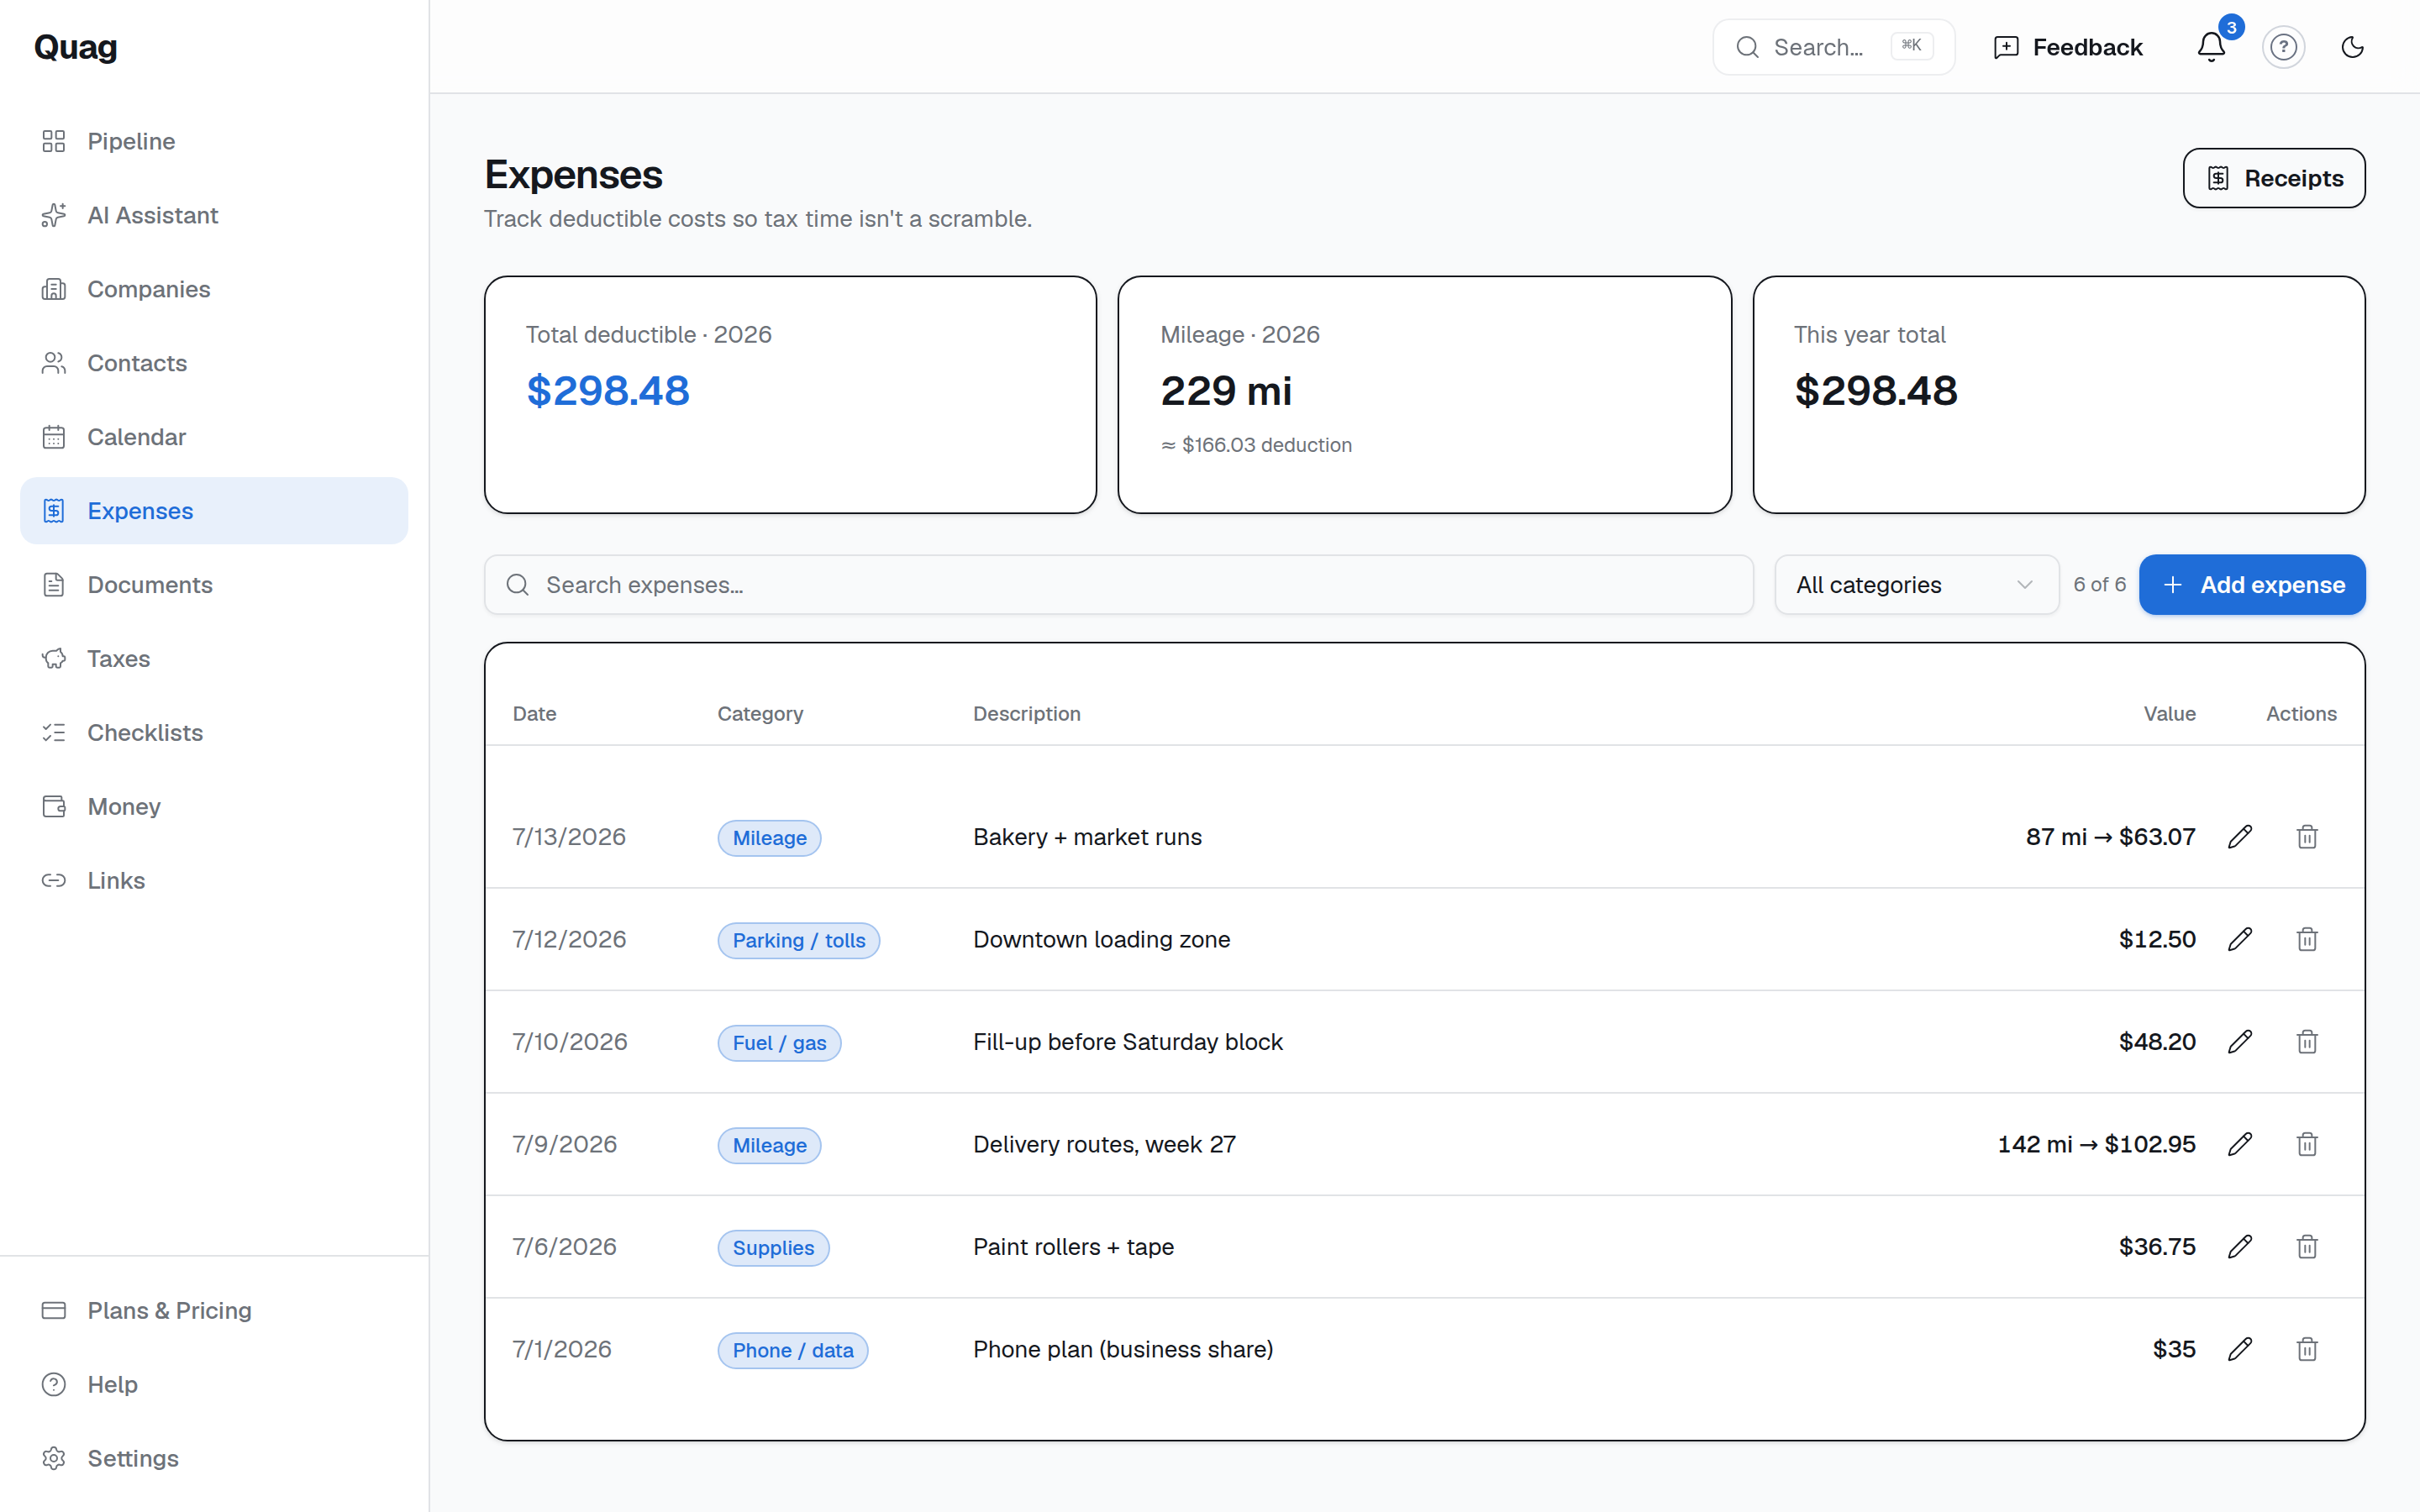
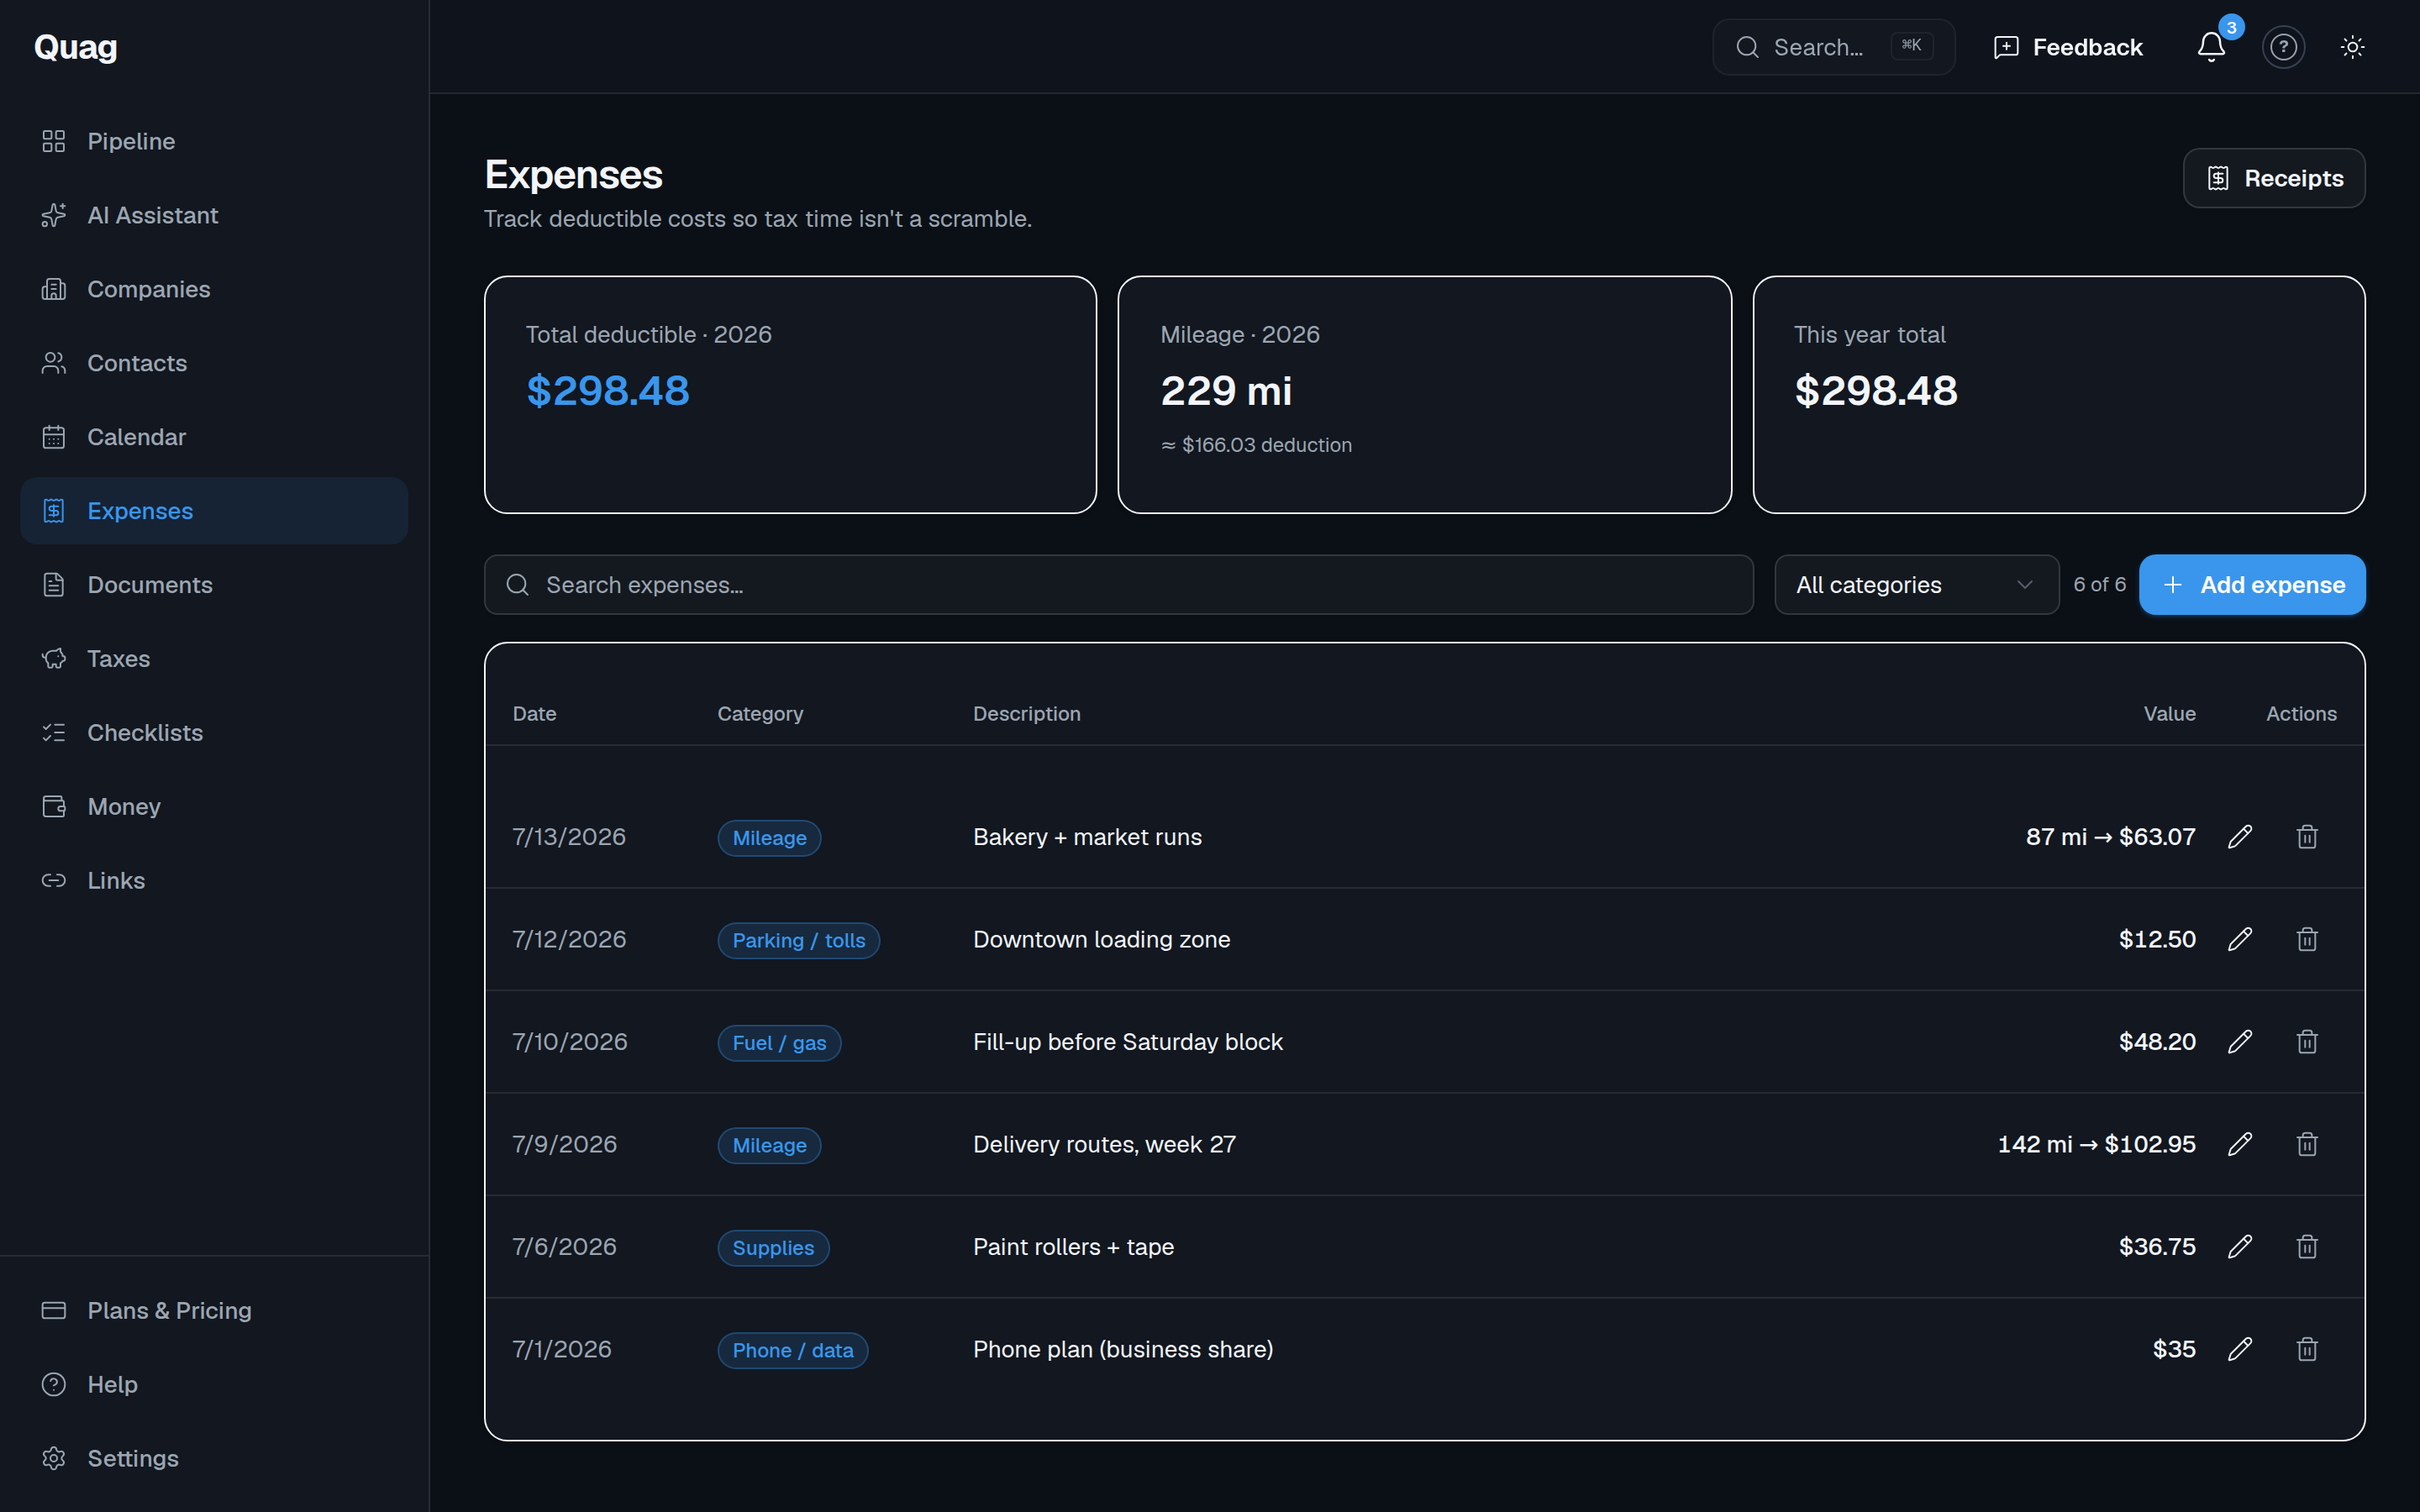
Go to Expenses → Add expense. Pick a category, and:
- Mileage: just enter the miles. Quag values them at the IRS standard rate (72.5¢/mile for 2026) automatically — no receipts needed for miles.
- Everything else (gas, supplies, phone, fees, insurance…): enter the dollar amount.
- Receipt photo: tap Add receipt photo and snap the receipt — Quag tries to read the vendor, date and amount off it and fills the form in for you (always double-check). The photo is kept as your audit trail under Expenses → Receipts.
Every deductible expense lowers the income you owe tax on, and flows straight into the Taxes page.
How much should I set aside for taxes?
The Taxes page keeps a running estimate for the year: it adds up the jobs you’ve marked Paid, subtracts your deductible expenses, and suggests a set-aside amount (you choose the percentage — 25–30% is a common rule of thumb for 1099 work). It also lists the four quarterly IRS due dates with a suggested amount for each.
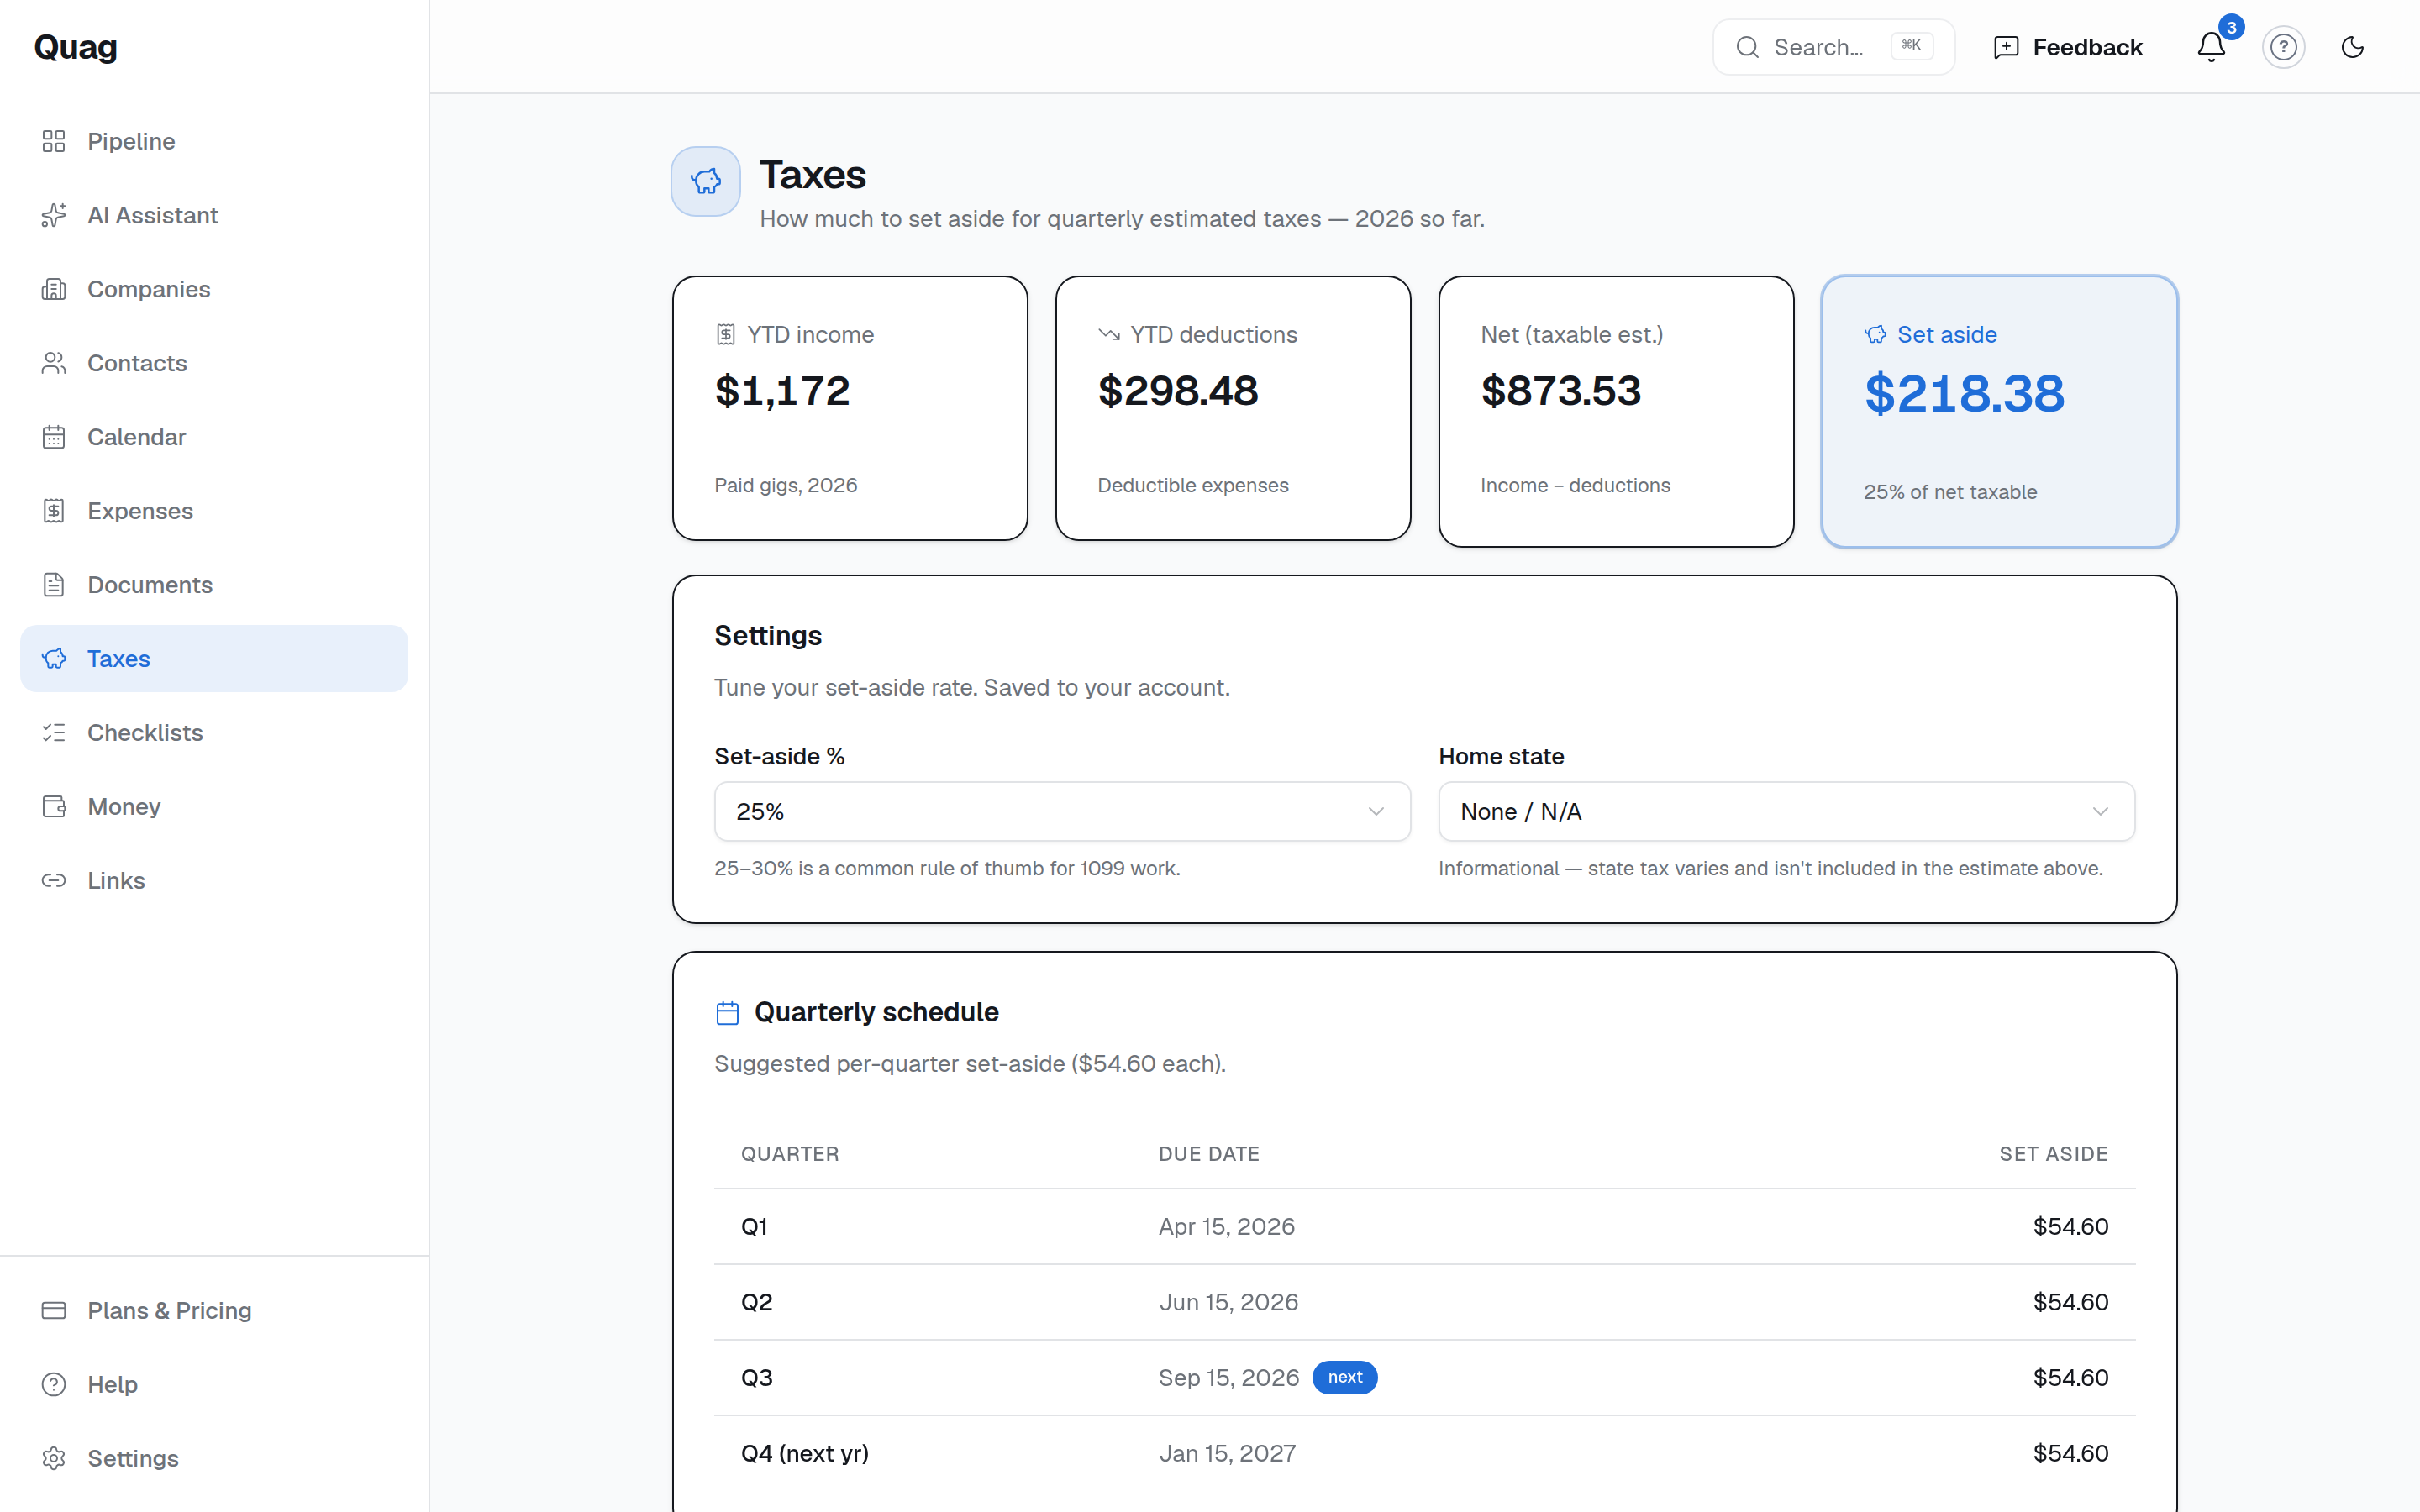
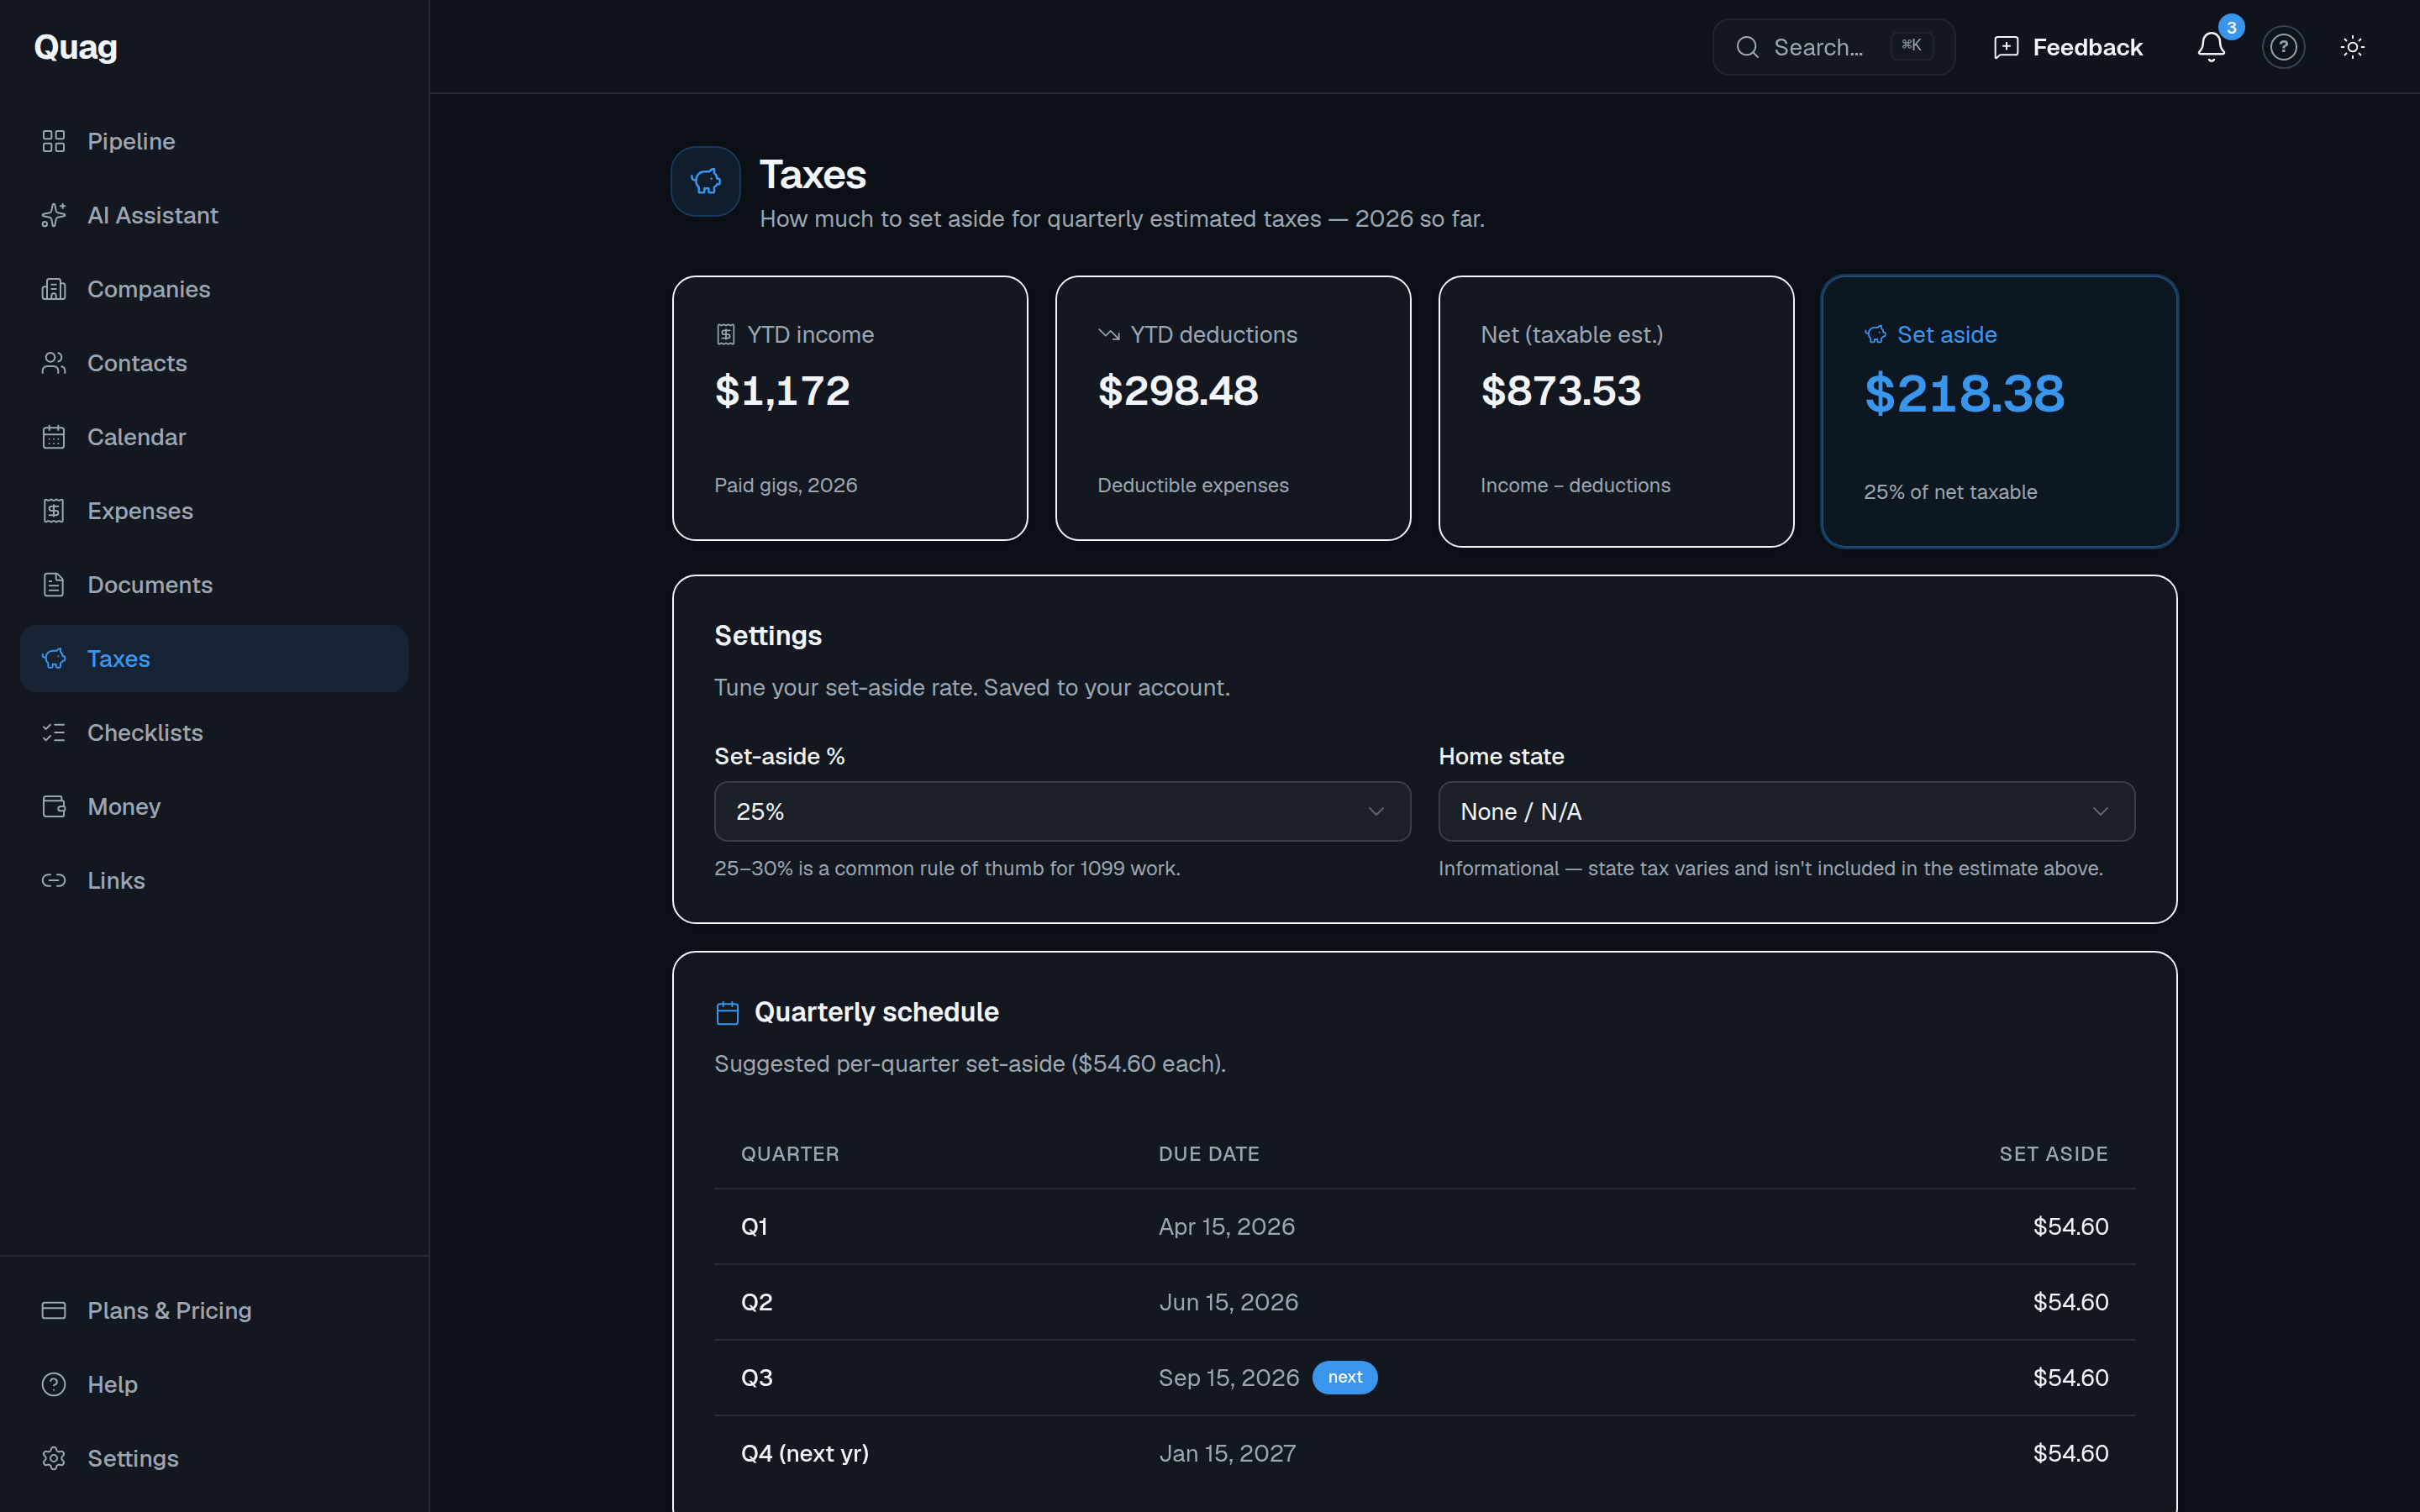
- It counts paid jobs from your Pipeline. Earnings you imported as shifts and invoices are not included in this estimate yet — if all your income is imported shifts, add the totals as paid gigs if you want them reflected here.
- It’s an estimate, not a filing — Quag doesn’t file anything with the IRS for you.
How do I import my earnings?
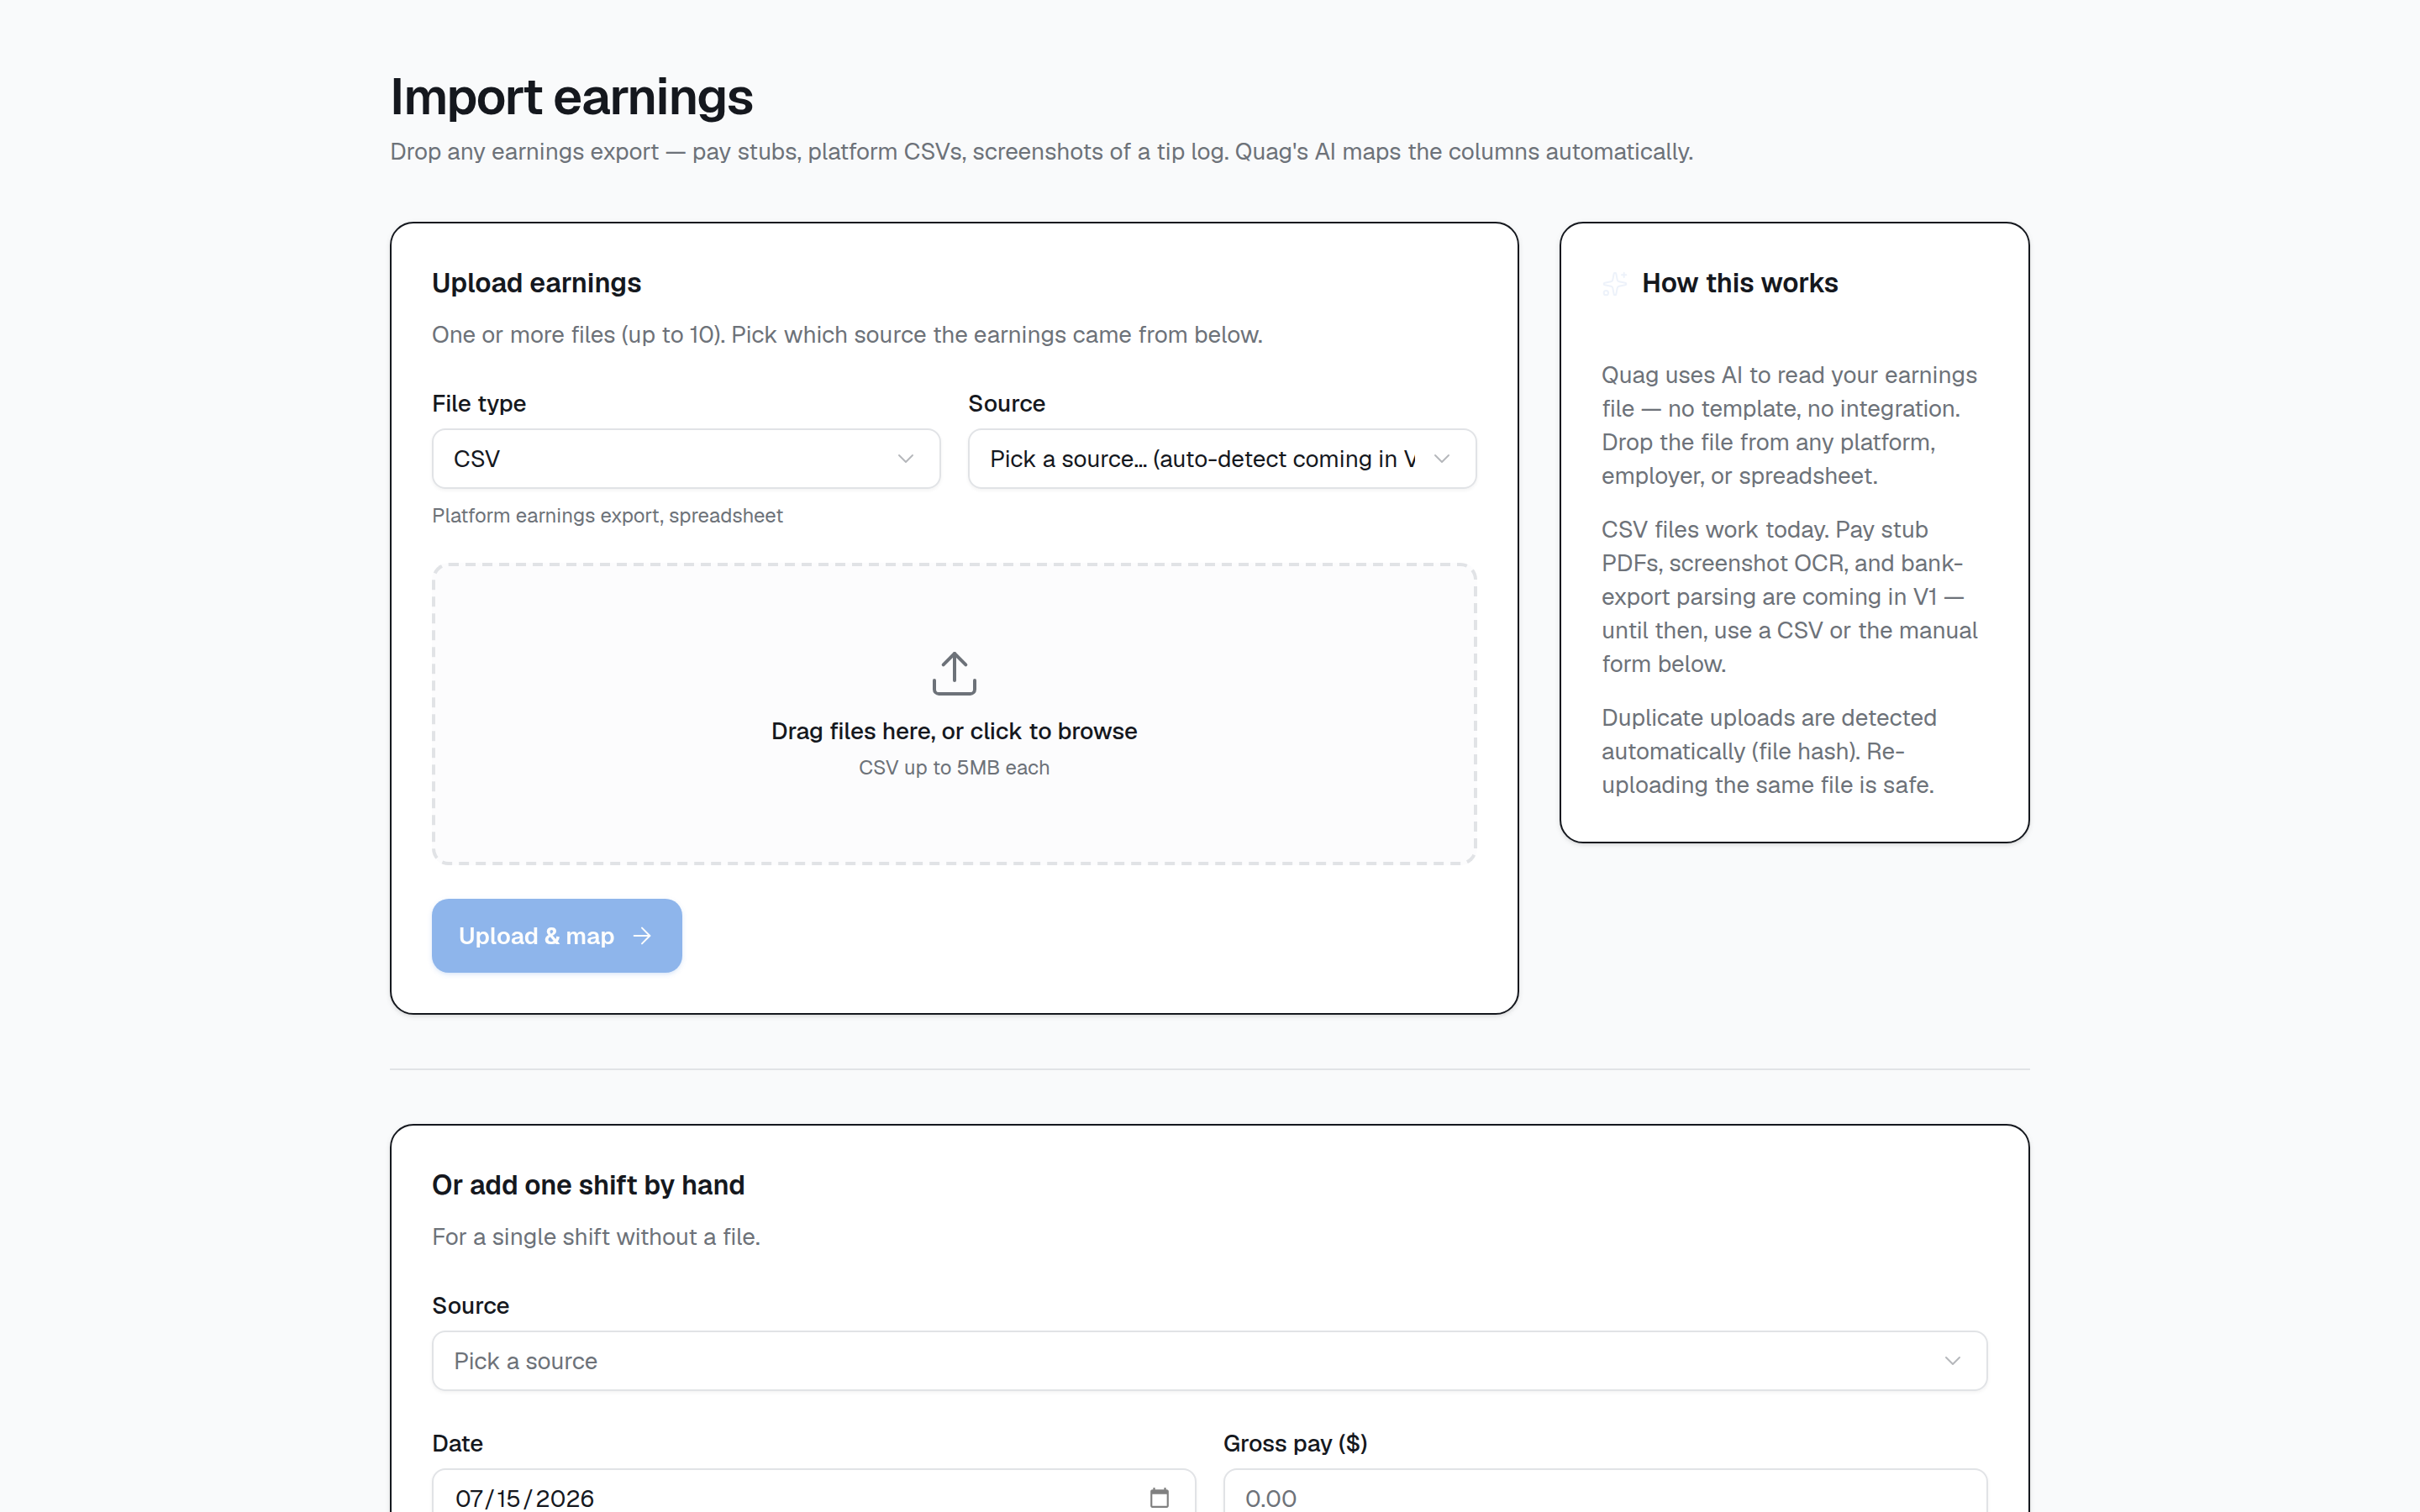
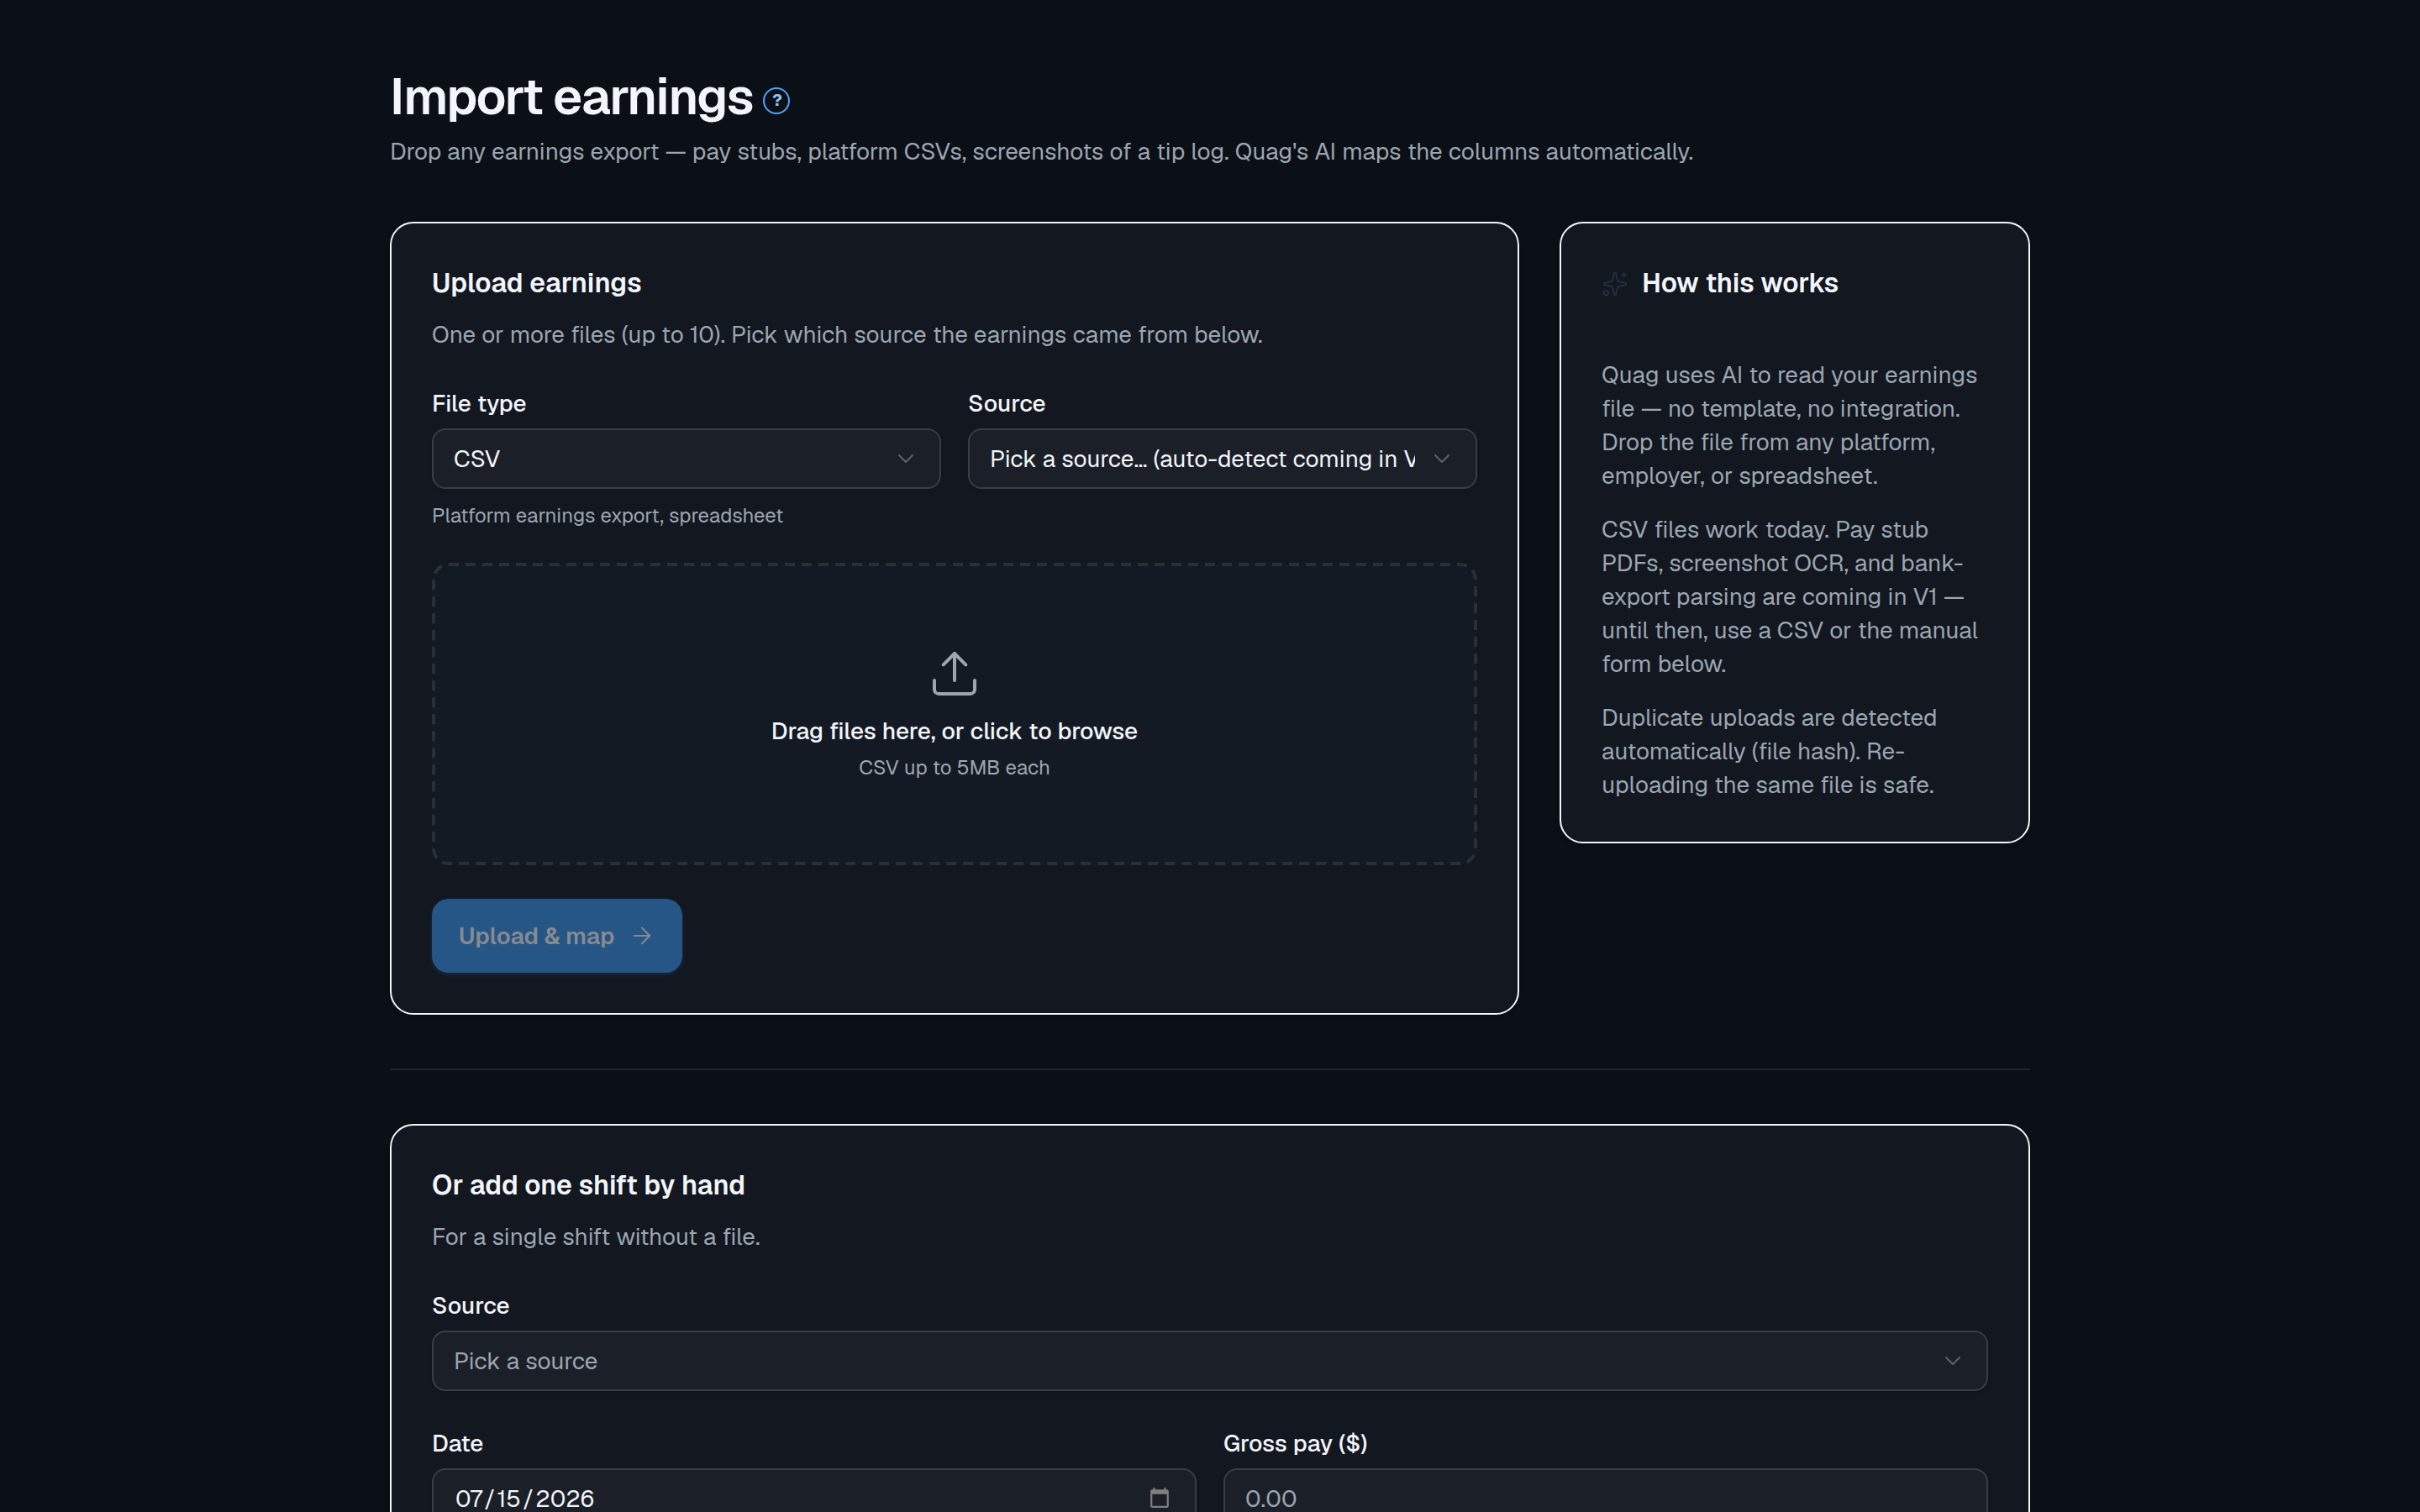
Import (reachable from the Money page’s Add earnings button) takes a CSV export from any platform, employer, or spreadsheet. Quag’s AI reads the columns — no template needed — and logs each row as a shift.
- First add a source (who the earnings are from) in Settings → Sources, then pick it when you upload.
- CSV files work today. Pay-stub PDFs, screenshots, and bank exports are coming — the options are visible but not live yet.
- No file? Use “Add one shift by hand” at the bottom of the Import page — date, gross pay, tips, miles, done.
- Uploading the same file twice is safe — Quag detects duplicates.
Where do I see what I really earned?
The Money page shows this week across every source — employer shifts, platform driving, client work — with one honest number: net, which is your gross pay minus the real cost of the miles you drove. That’s usually lower than what the apps show you, and it’s the number that matters.
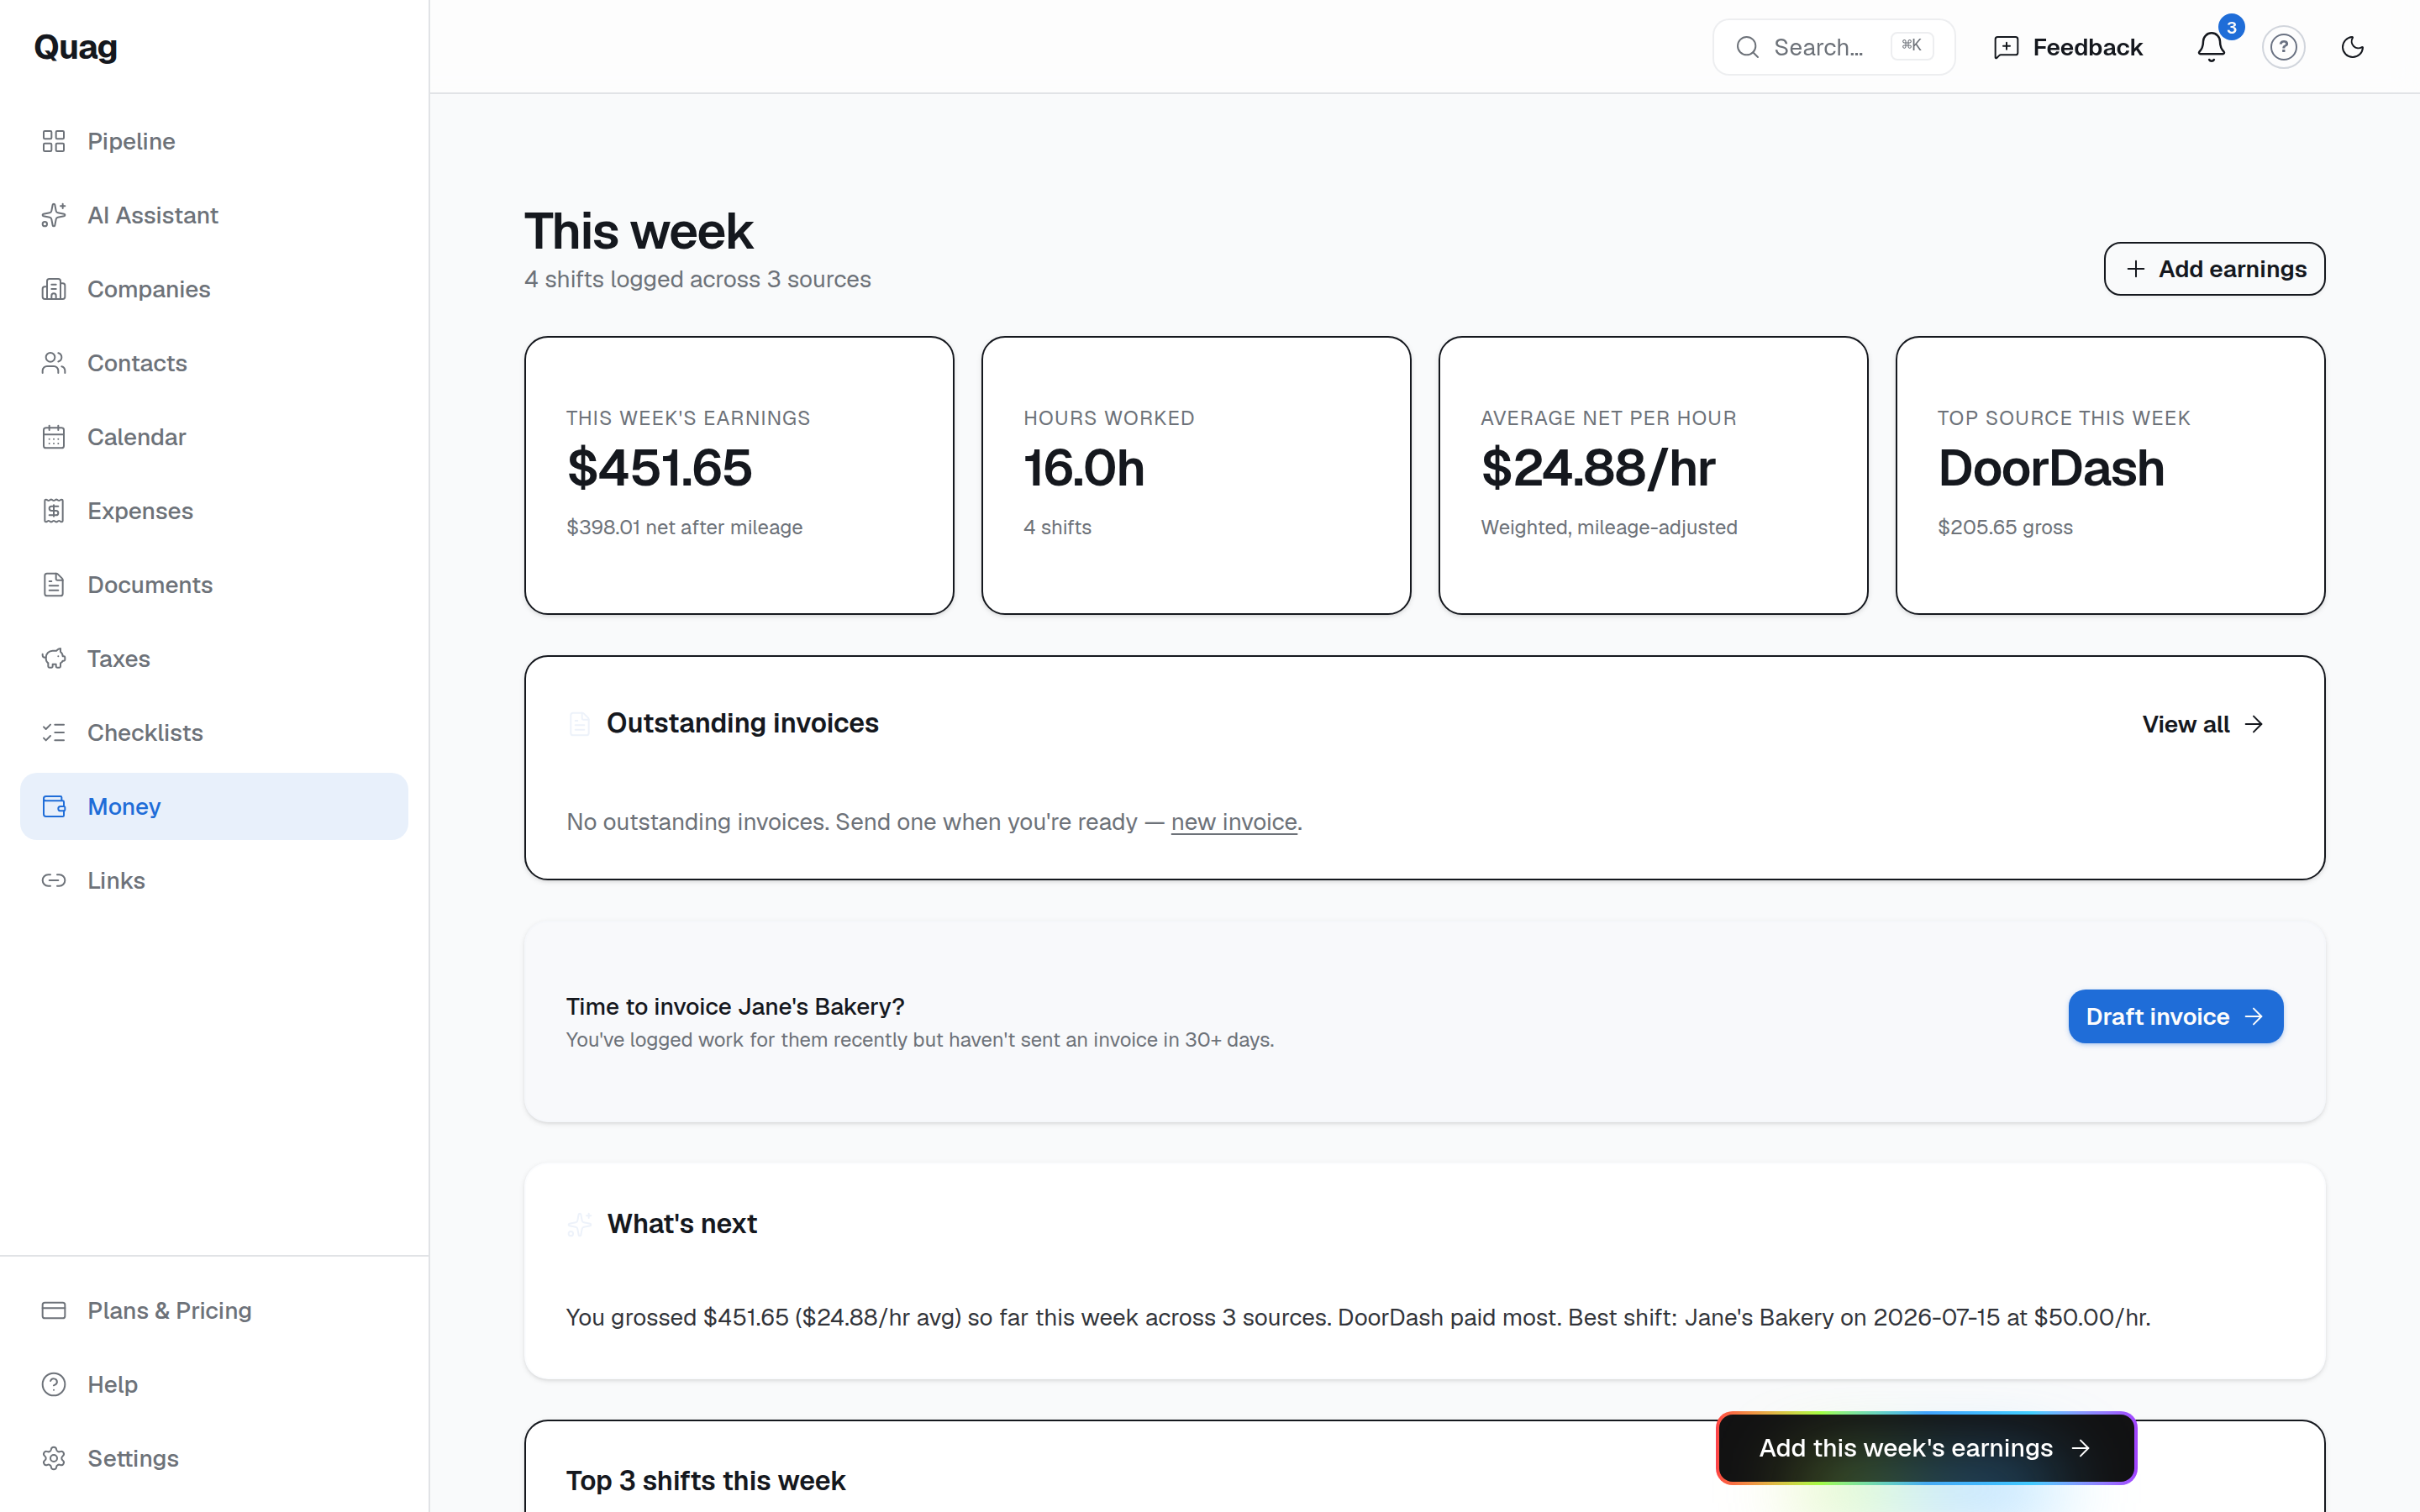
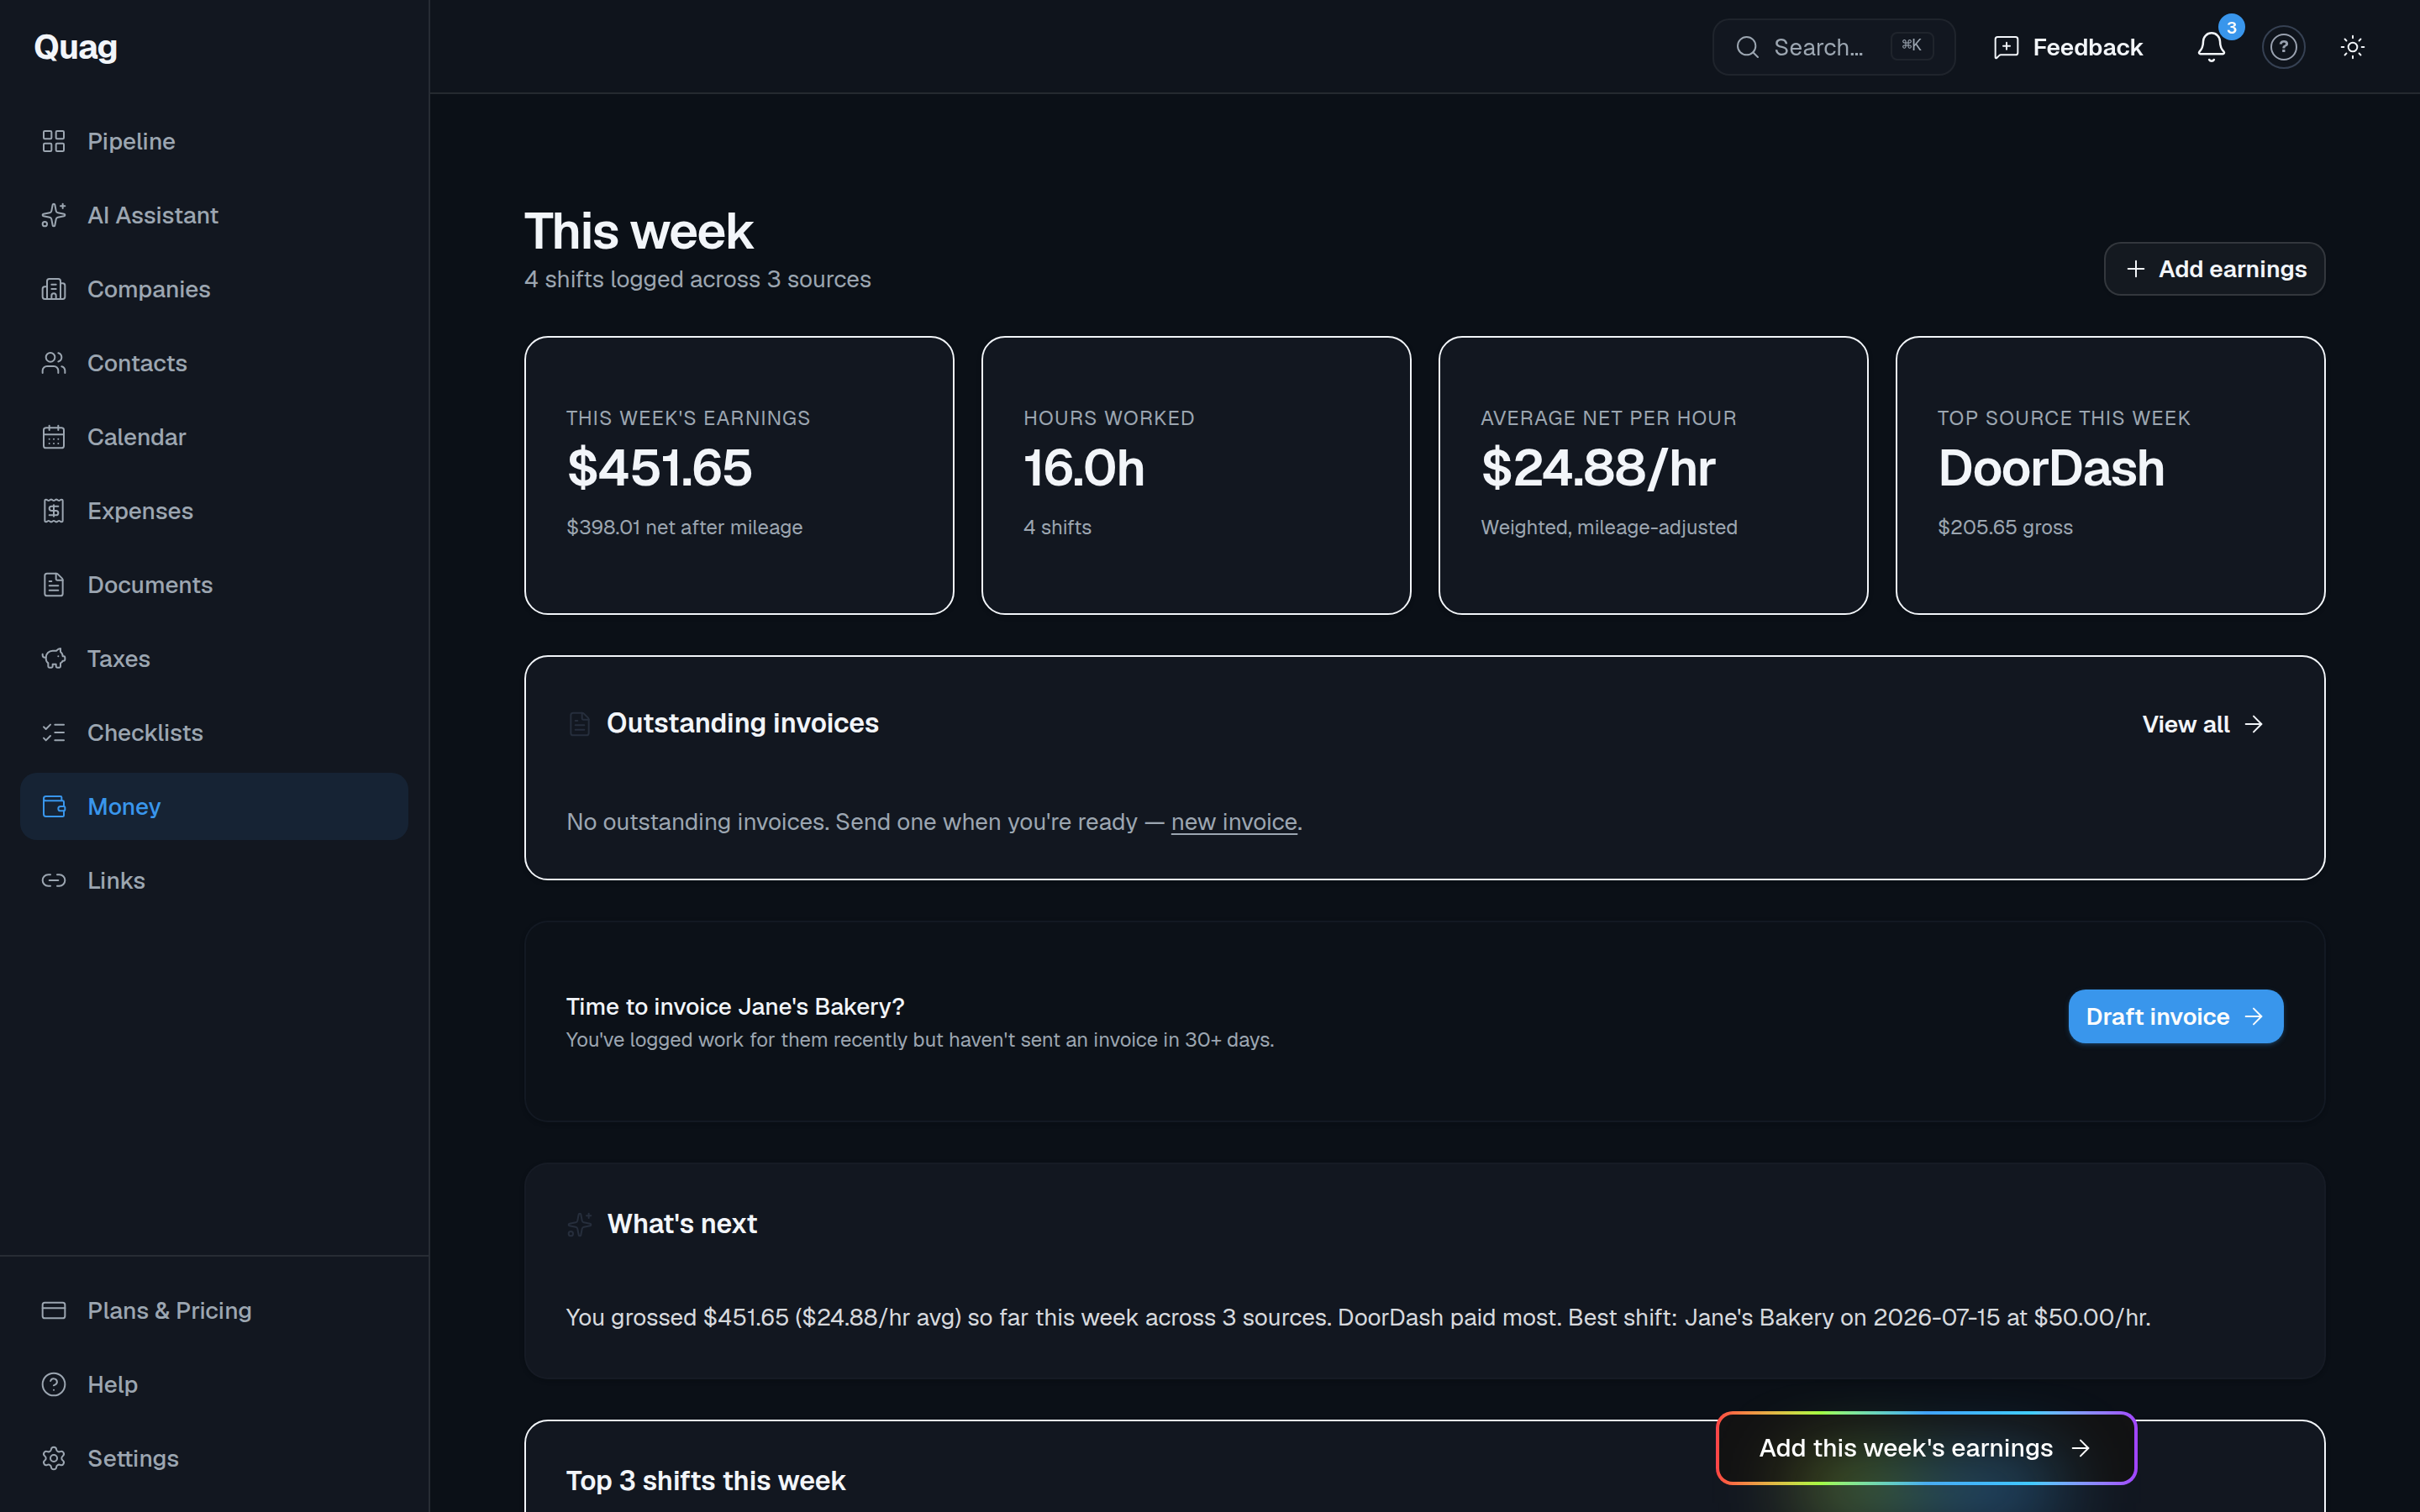
It also nudges you when a client has fresh work but no recent invoice, and shows anything outstanding.
How do I send an invoice?
- Add the client under Settings → Sources with type client (include their email so Quag can send to them).
- Go to Invoices → New invoice, pick the client, and either Add from shifts (turns tracked work into line items) or add rows by hand.
- Save draft, or Save & send to email it straight away with the PDF attached. You can also download the PDF and send it yourself.
- When the money arrives, open the invoice and hit Mark paid. Invoices past their due date show an Overdue badge so nothing slips.
Your business name, address, logo and default payment terms for the PDF letterhead live in Settings → Business + invoicing.
How do I stop documents expiring on me?
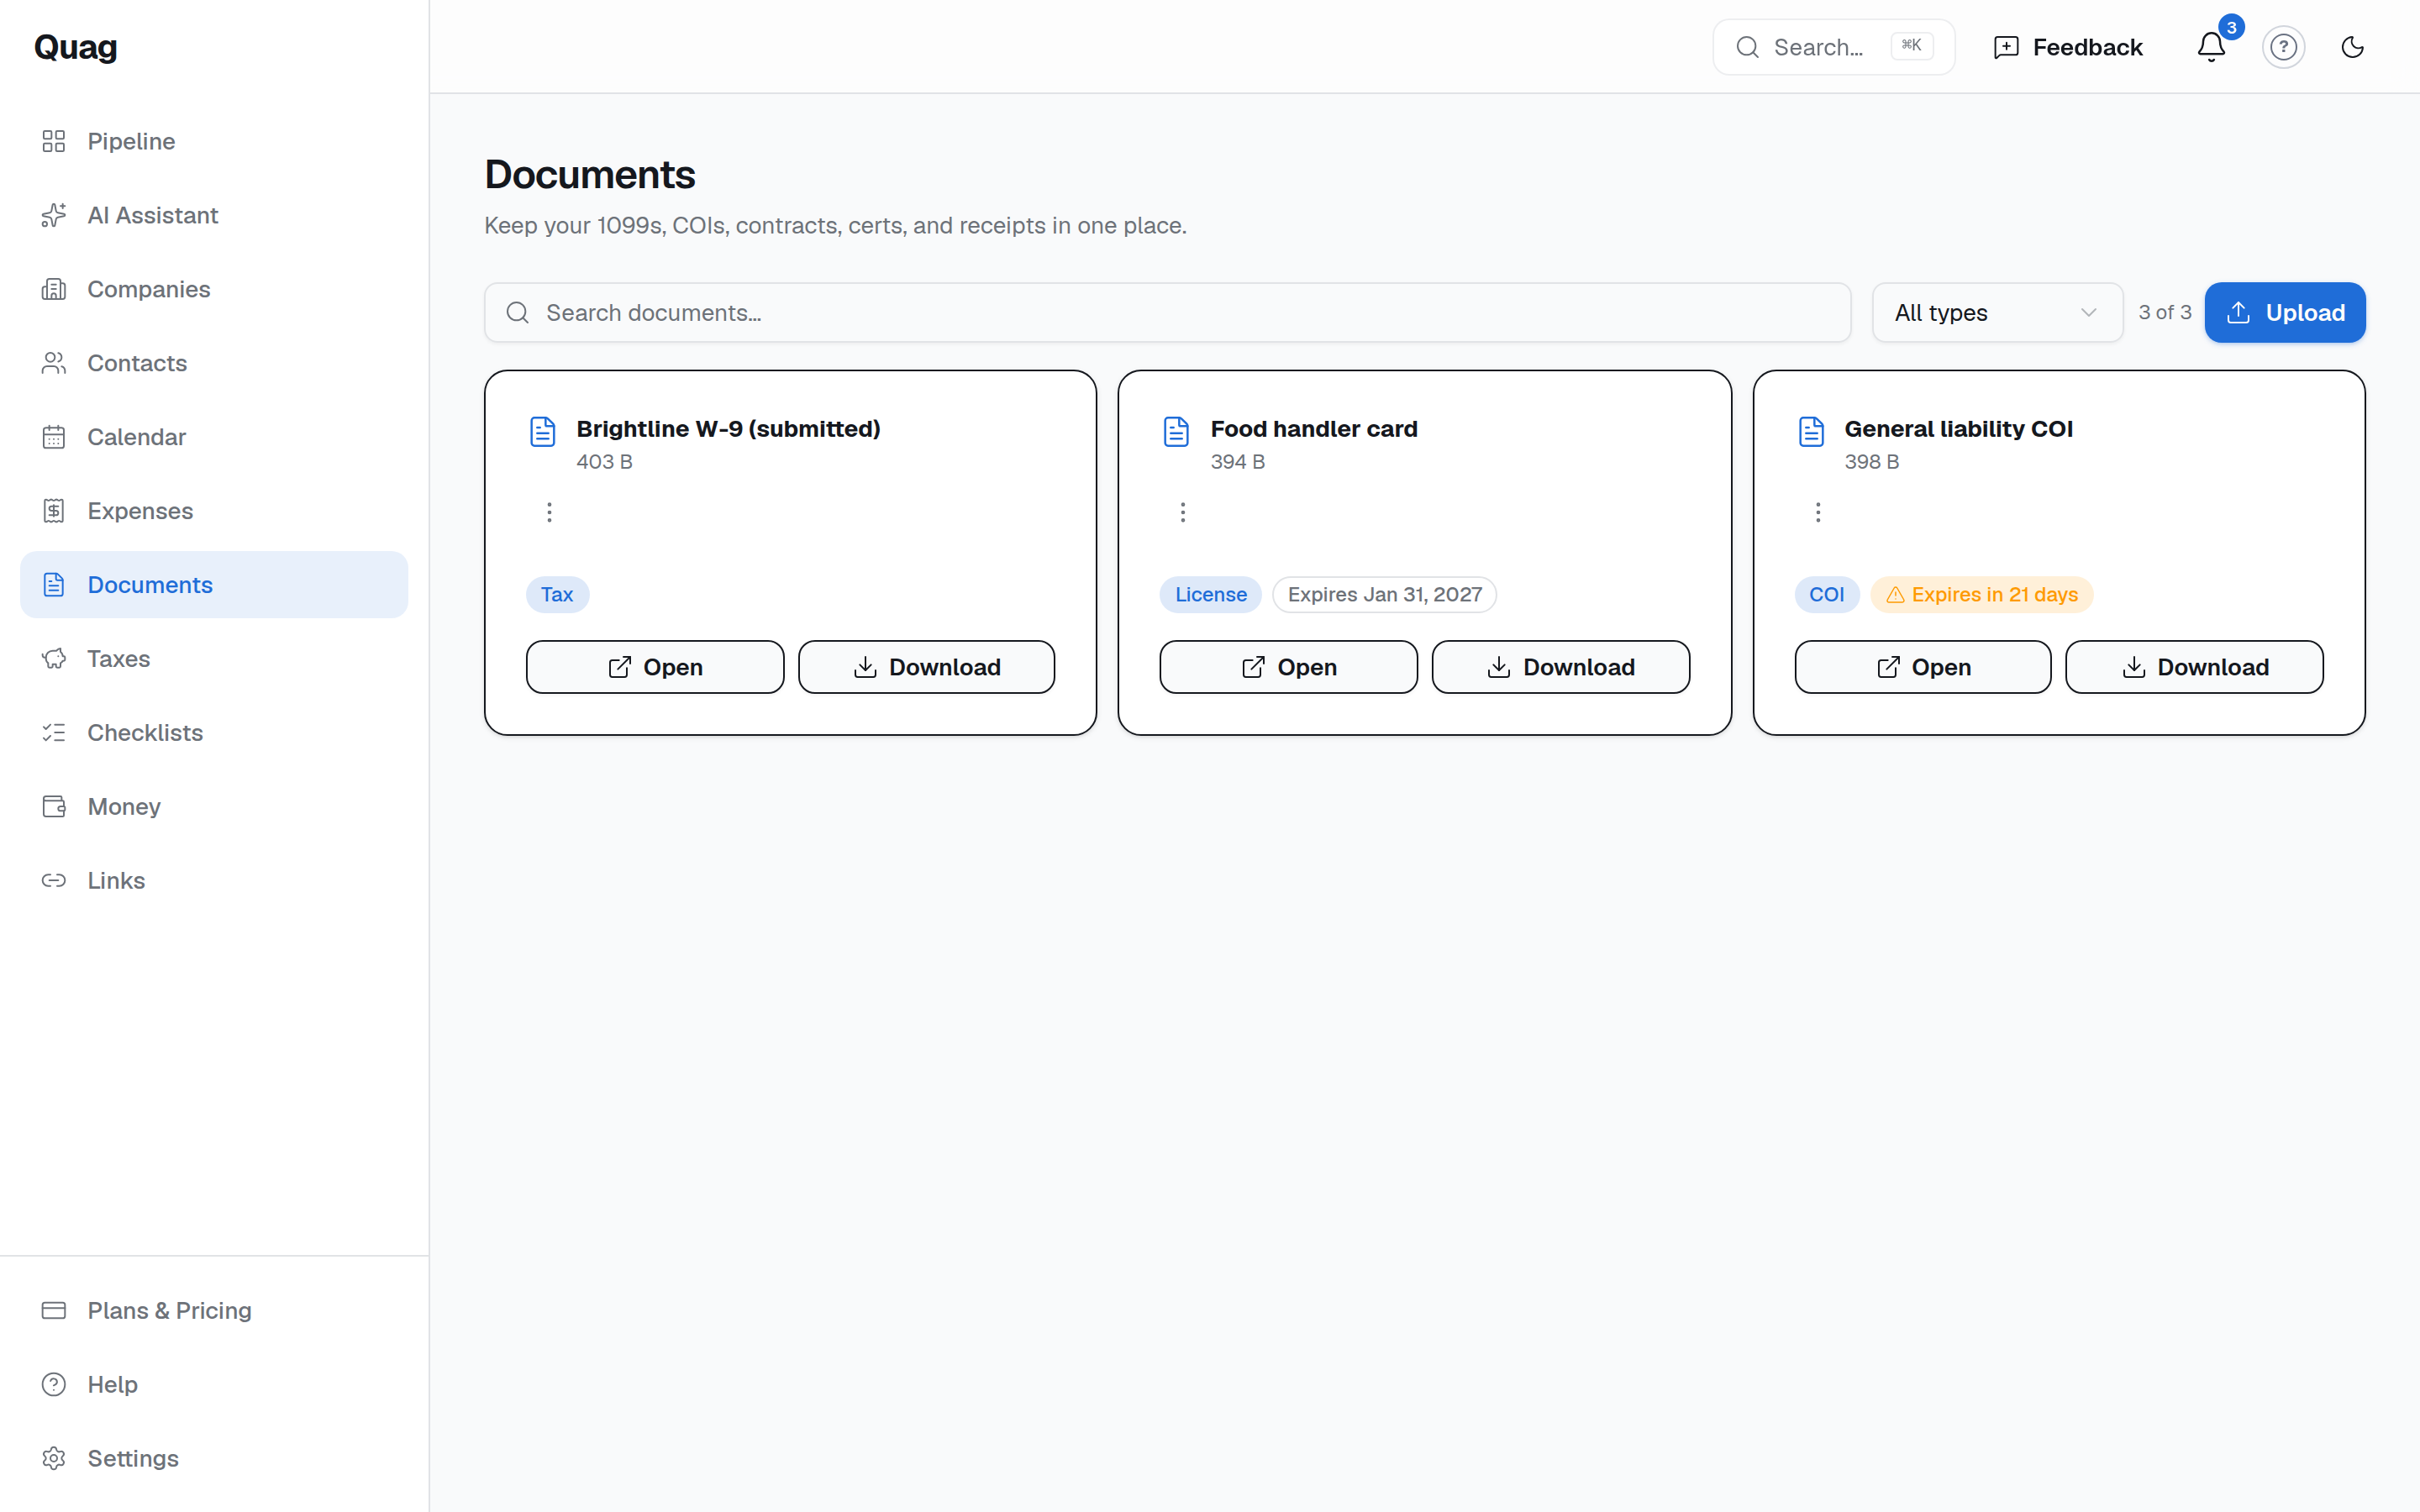
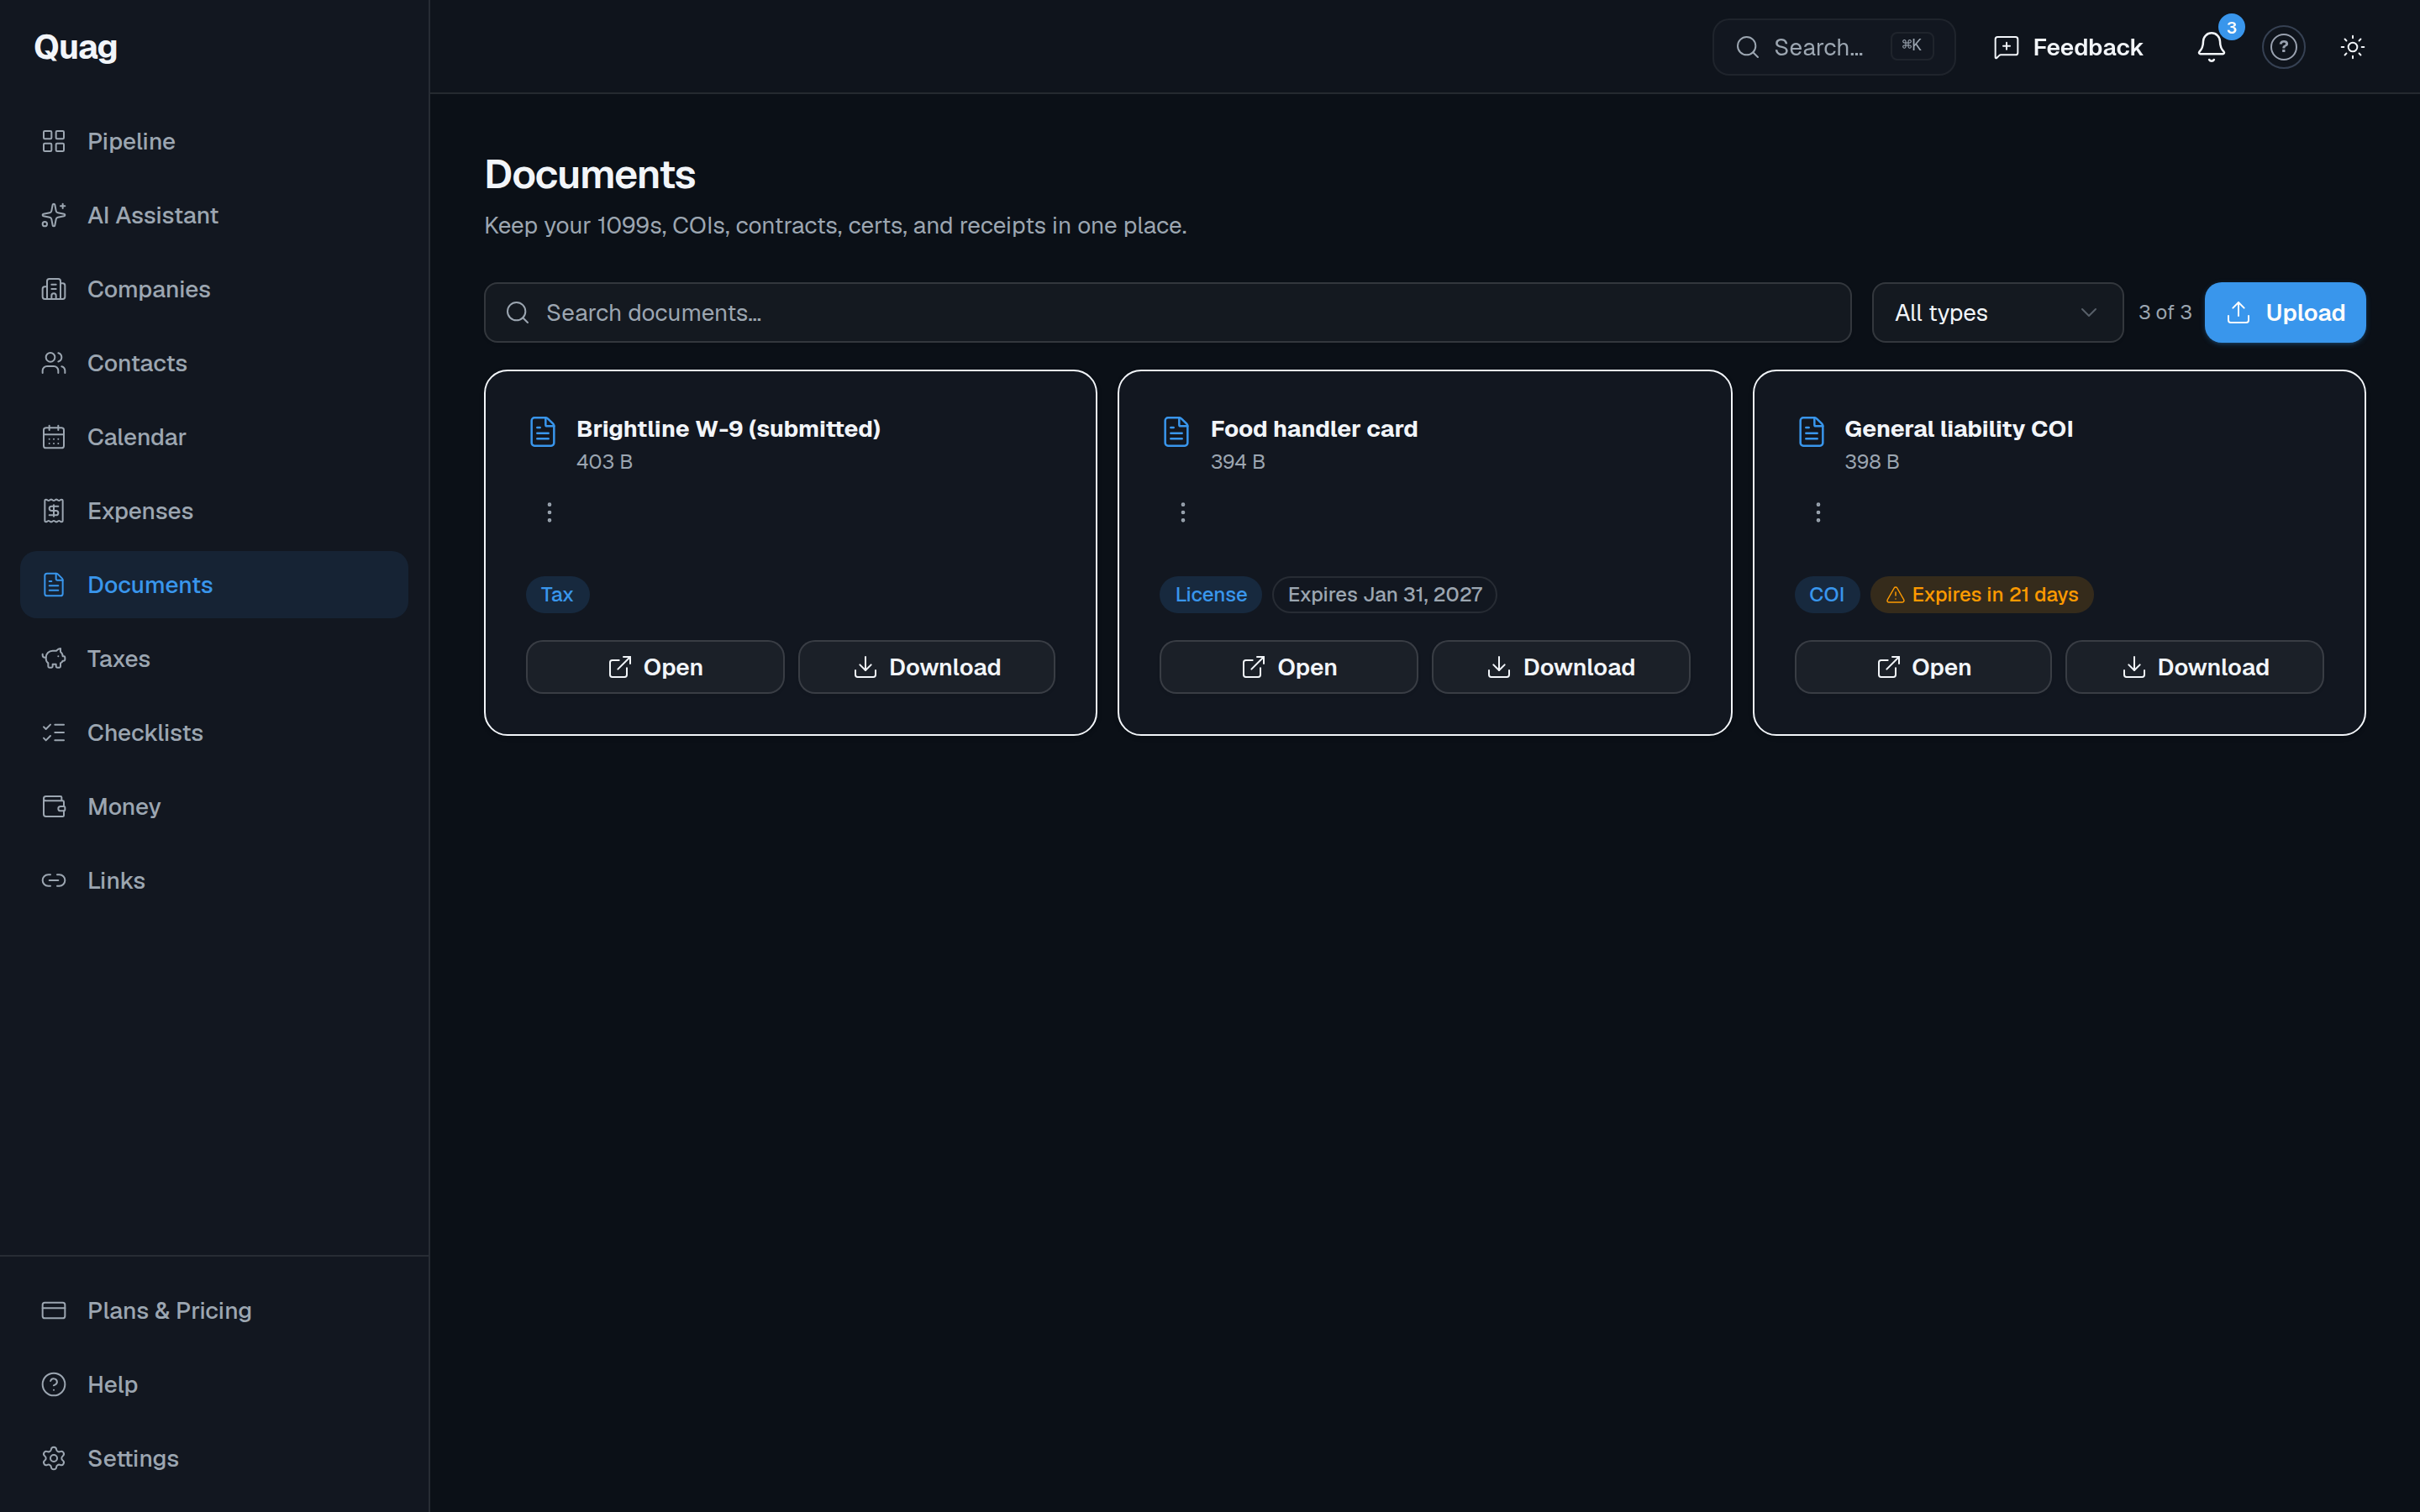
Upload 1099s, insurance certificates (COIs), contracts, licenses and certs under Documents (files up to 15 MB). Give a document an expiry date and Quag flags it 30 days before it lapses — on the Documents page, on the Pipeline’s “needs attention” strip, in the notification bell, and on the calendar. An expired COI never costs you a booking again.
Companies, contacts & checklists
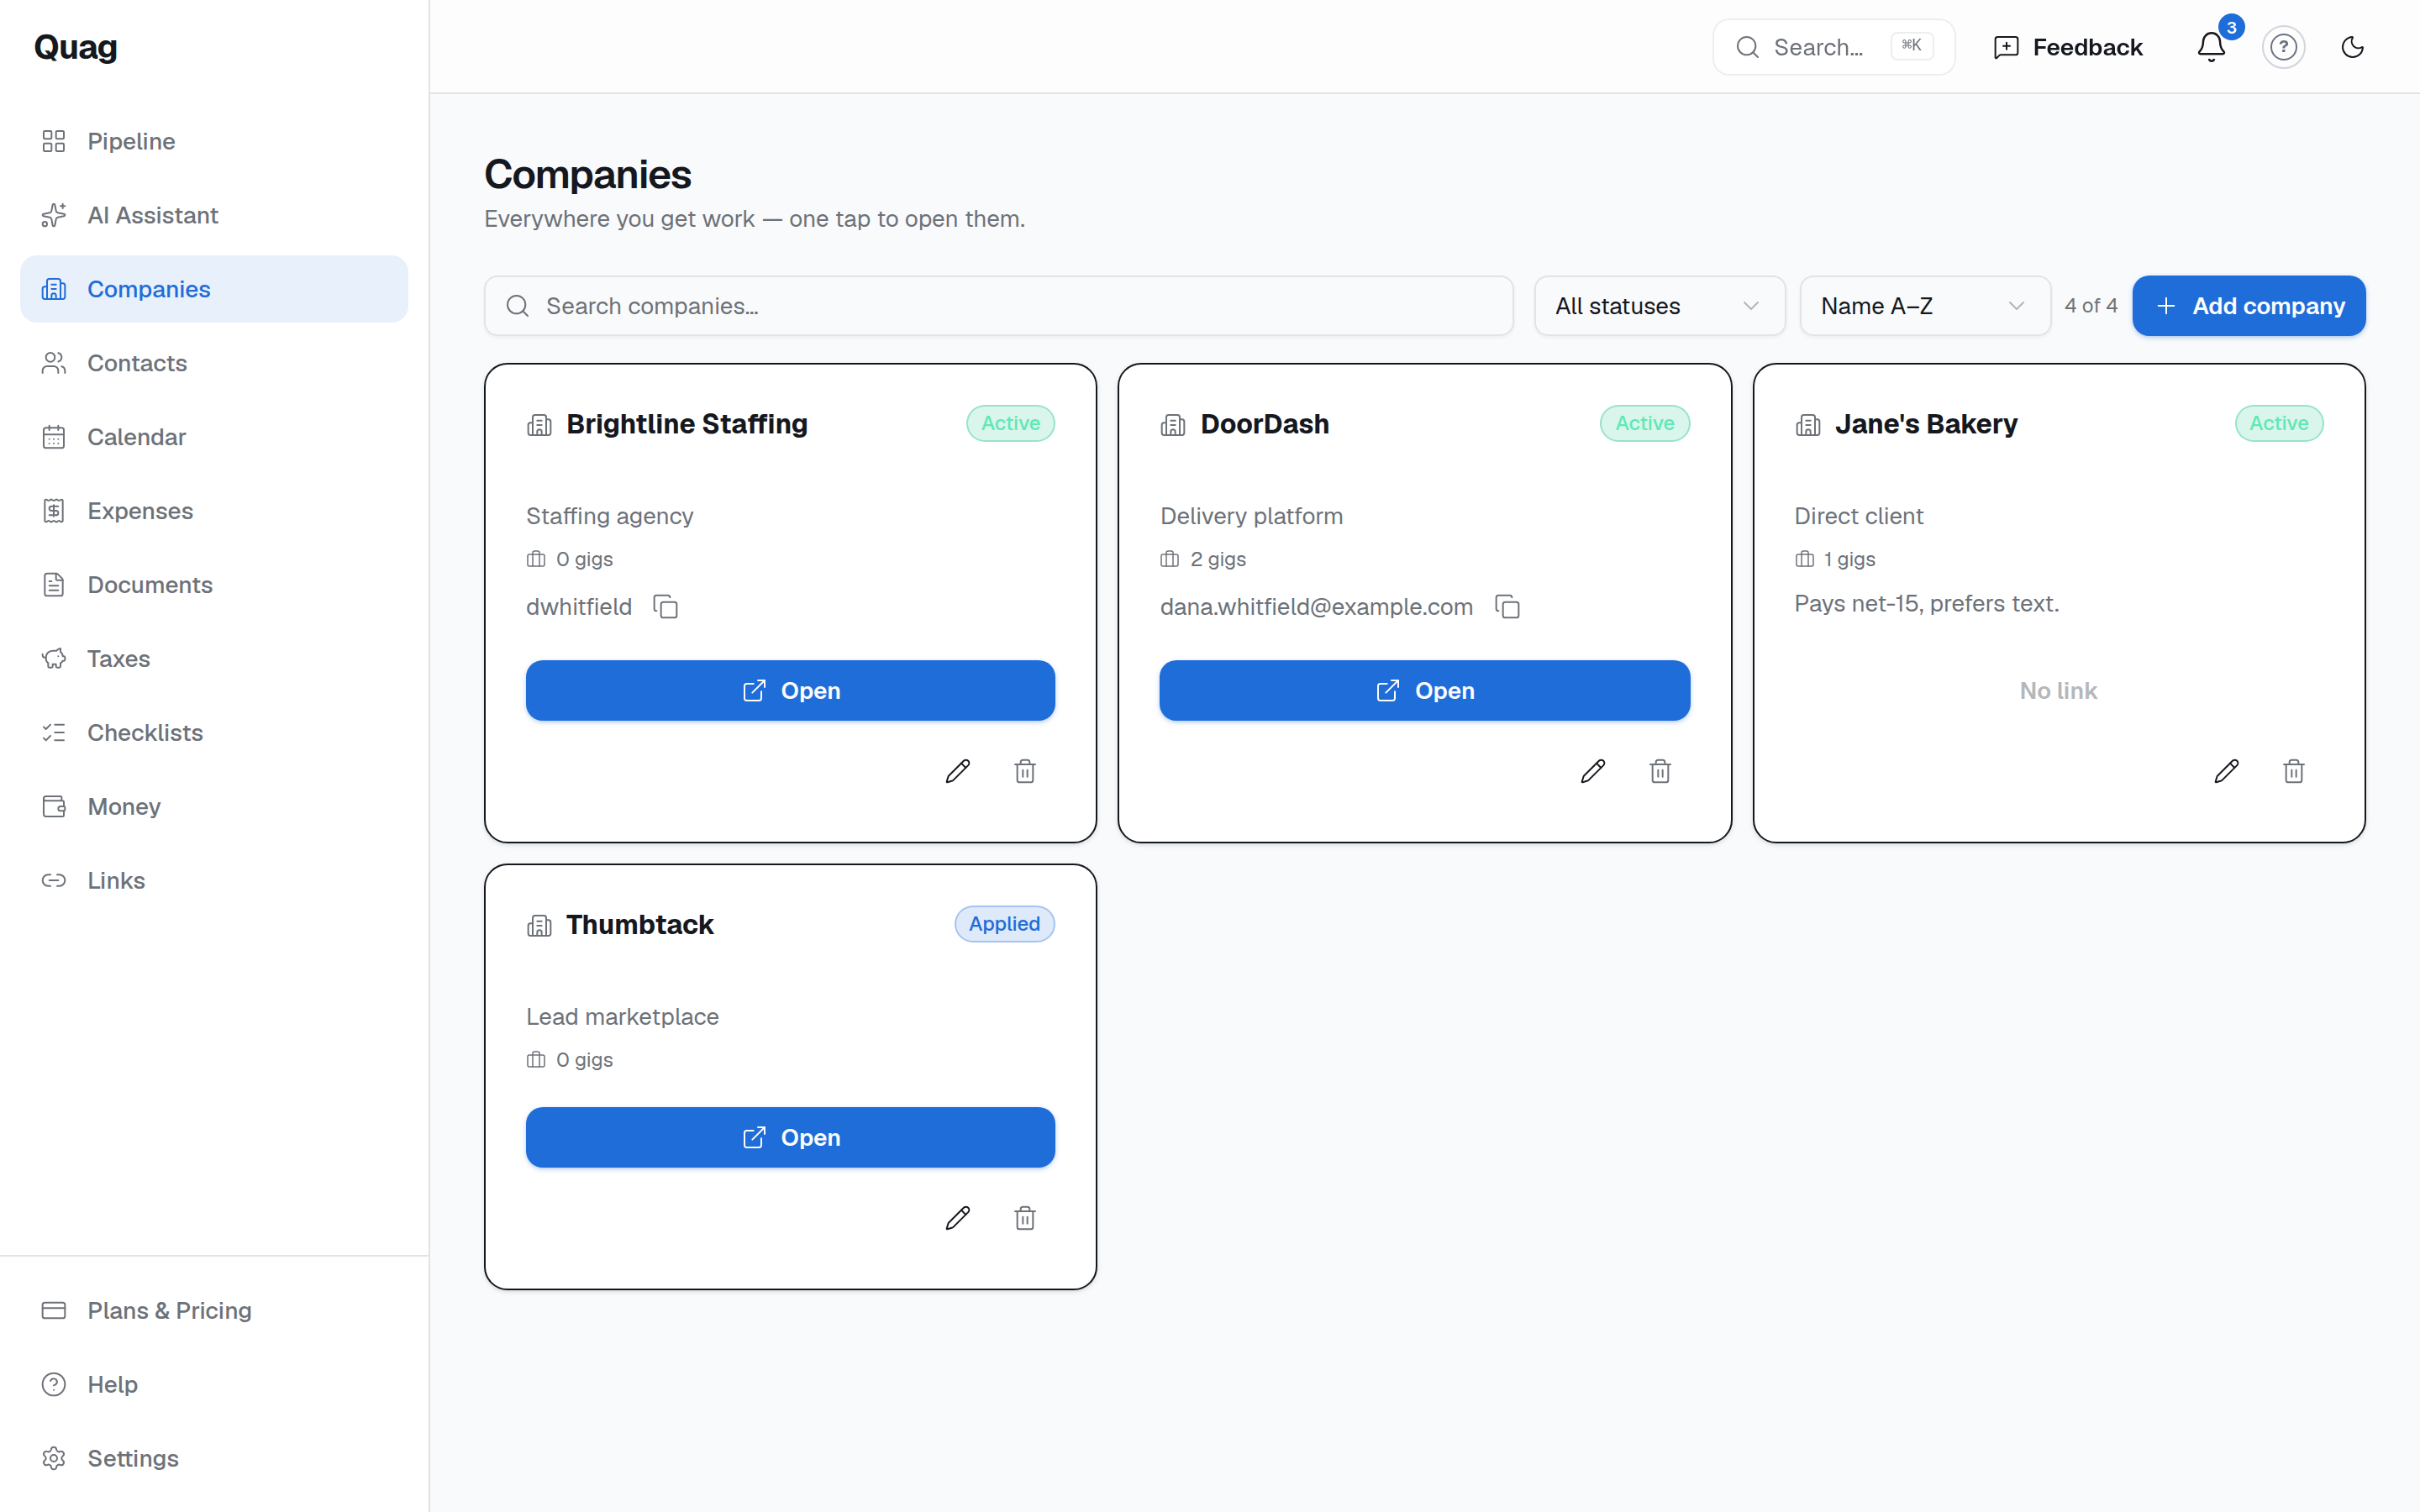
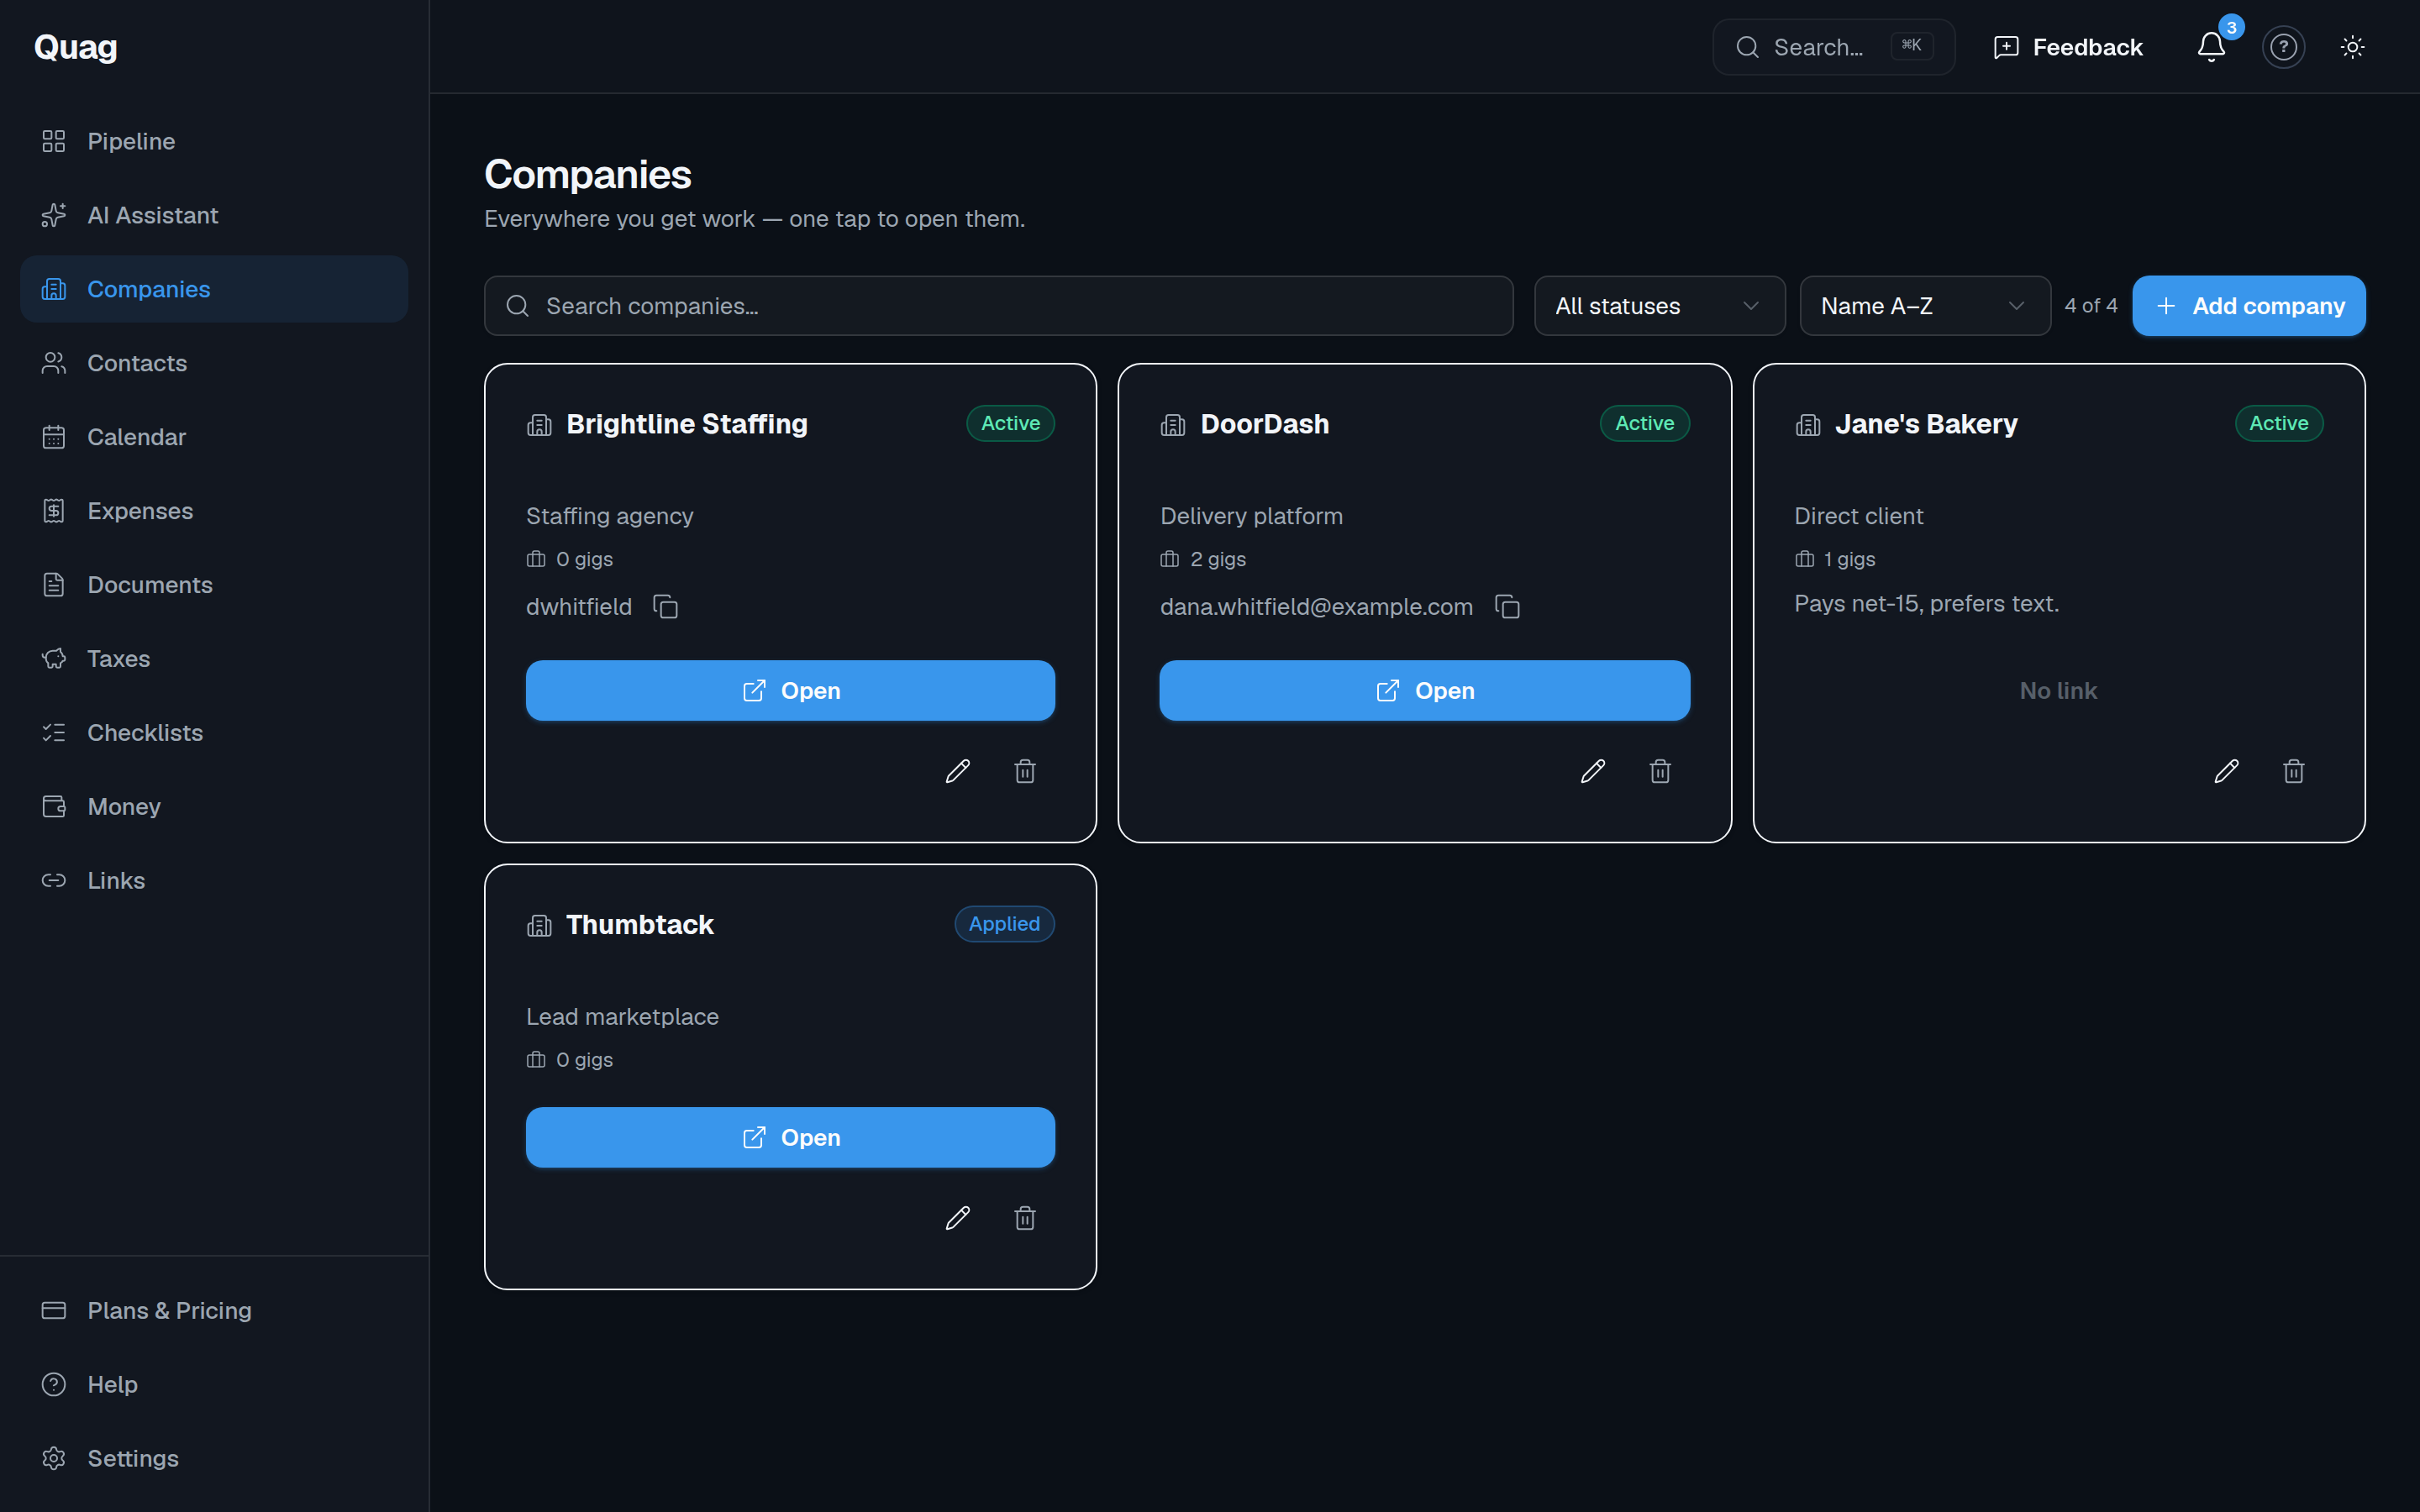
- Companies — every platform, agency or client you work for, each with a one-tap Open link, a status (Prospect / Applied / Active / Inactive), and a note of the username you log in with (never store passwords here).
- Contacts — the people you do work for, with phone and email a tap away, and a count of the jobs you’ve done for them.
- Checklists — build reusable before-job / after-job checklists (e.g. “photos taken, invoice sent, tools packed”), then apply one to any job from that job’s detail page and check items off as you work.
The calendar
Calendar lays every scheduled job on a month view, color-coded by stage. It also marks the days a document expires and the quarterly tax due dates (both can be toggled off). Click any day to see the details — with a Maps link and an “Add to Google Calendar” button per job — or to add a new job on that date.
“Should I take this offer?” (platform drivers)
If you drive for platforms (DoorDash, Uber, Instacart…), the Decision on the spot scorer at /now reads an incoming offer — paste the text or drop a screenshot — and scores it 0–100 against what your own past shifts actually netted per mile and per hour. Accept or pass, with the math shown.
It unlocks once you have a source of type platform (Settings → Sources) and a few logged shifts — without your history there’s nothing to score against.
The weekly recap
/recap is your week in plain English: net pay, hours, net per hour, how that compares to the week before, which zones to chase or avoid (once your imported earnings include zone info), and a digest of things needing attention — documents expiring, overdue invoices, jobs past their date. Switch between this week, last week, and the last 30 days at the bottom. If you log shifts, the recap also arrives by email once a week.
The AI assistant & approvals
AI Assistant is a chat window that can see your own numbers. By default it’s called Moneta; you can rename it in Settings → AI controls.
Questions about your money
It reads your recent jobs, your companies, your expenses from the last 90 days and your year-to-date tax position, and answers with your real figures — “what did I clear last month?”, “am I on track for taxes?”, “which expense category is my biggest deduction?” If an answer isn’t derivable from your data it says so plainly instead of guessing.
Questions about Quag itself
Ask it where something is — “where do I add a platform I drive for?” — and it looks the answer up against a guide to Quag’s own screens and points you at the real page. If you ask about something Quag doesn’t have, it tells you it isn’t sure and offers to pass it to support, rather than inventing a screen that doesn’t exist.
Things it can actually do
It can list your unsent (draft) invoices, and it can email an invoice to the client on file and mark it sent — the very same send your own Save & send button performs. Ask it in plain English: “email invoice 104 to them.”
That send is the only thing it can change, and it can never do it on its own. When you ask, nothing is sent. The request goes into Settings → Approvals and the assistant tells you it is waiting there. Then:
- Approve — and only then is the email sent and the invoice marked sent.
- Reject — nothing is sent and the invoice stays a draft.
- Ignore it — a request expires after 24 hours and can never be sent afterwards.
What it can’t do
Everything else is read-only. It can’t create, edit or delete gigs, expenses, receipts, contacts, companies, documents or checklists; it can’t change your settings, your plan or your password; and it only ever sees your own account.
Staying in control
Settings → AI controls is the switchboard. You can pause every AI feature at once, switch off individual ones (receipt reading, expense auto-categorising, offer scoring, import column mapping, the weekly recap), set the hours the scheduled ones may run, and rename the assistant. Switching a feature off stops the work itself — it isn’t merely hidden from the chat.
The assistant is part of the Quag AI plan ($20/mo) — see Plans & Pricing. The other AI features listed above are included with it too.
Settings, password & security
- Profile — your display name and home state.
- Taxes — your classification (W-2 / 1099 / cash / mixed), filing status, and your real cost per mile if you know it.
- Business + invoicing — the letterhead used on invoice PDFs.
- Password — changing it here applies across every Martello app you sign in to. Forgot it? Use the link on the login page.
- Security — optional two-factor authentication with an authenticator app, with one-time backup codes.
- Sources (Settings → Sources) — the employers, platforms and clients your earnings come from. Needed for importing earnings and for invoicing.
Plans & billing
Quag is free to start — no card required. Paid plans are on Plans & Pricing. For any billing question or change, use Support & Feedback and we’ll sort it out quickly.